

Fall will eventually usher in cooler temperatures, and with them, a brand new gardening to-do list. Shrubs, trees, bulbs and wildflower seeds will eagerly await planting time. While weeding and planting may dominate today’s short-term list, it’s not too early to plan ahead for winter.
With the tiniest temperature break, many plants in my garden are looking perky again. But I know that the first frost or freeze will take some of them out – killing the annuals and pushing the root hardy perennials into dormancy.
Most of us in the Central Texas area garden in USDA Zone 8, meaning many plants that don’t tolerate cold weather will have to be replanted come spring.
Rather than buying new plants next March, I will be propagating some and overwintering them in the greenhouse or the house. An inexpensive way to create new plants from those you’re already enjoying, taking cuttings produces plants genetically identical to the parent plant.
Many kinds of plants – woody and herbaceous – can be grown from cuttings. Different plants require different types of cutting methods, so make sure to research your particular plant’s needs before taking a cutting. One of the methods commonly used by homeowners is stem cutting, which is what I’ll be doing in my garden.
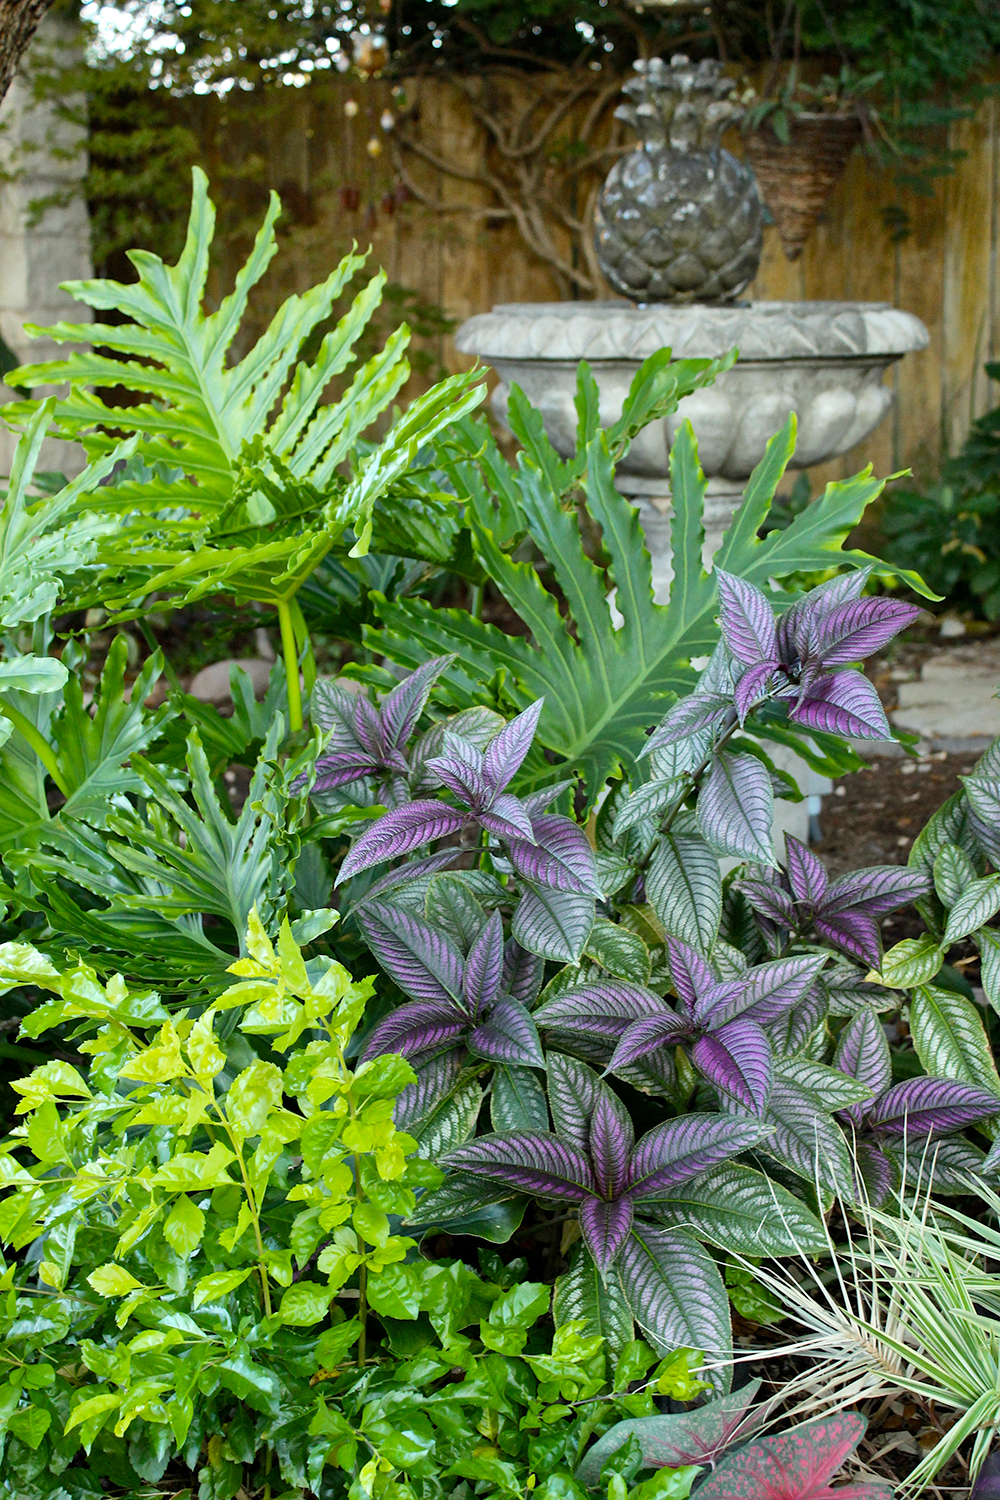
I plan to take cuttings of my Persian Shield, Strobilanthus dyerianus, so I have several new plants to use next spring. It’s often described as an herbaceous perennial, but it’s only hardy in USDA zones 10 and 11 (we are classified as zone 8). It can also be grown as a houseplant.
In my garden, it’s annual, dying with the first frost. Because it provides such a dramatic iridescent purple pop of color to my garden, I always buy new ones each spring. It’s a full shade plant and it does need an occasional extra squirt of water with the hose in the hottest parts of summer. I have it close to my pots and hand water it with them periodically.
Preparing to take cuttings
Before you start, clean your pruning tool by dipping it in rubbing alcohol or a mixture of one part bleach to nine parts water to prevent the spread of bacteria or fungi. Make sure you have a sharp blade to minimize any damage to the plant. To help promote root growth, you should also have some rooting hormone on hand. Rooting hormone can be purchased at most nurseries.
In your container, place a mixture of peat, vermiculite and perlite or sand and peat and water it. The potting mix should be sterile, like seed starting mix, so don’t use garden soil.
Make a straight cut 3-6 inches long, from the tip of a plant stem, at a 45-degree angle. You want to create the largest rooting area possible. Include the end of the stem and some leaves. Remove the lower leaves so the plant’s energy is used for root growth, rather than foliage growth. Remove the lower 1-1/2 inches of leaves on the stem, wet the stem, and dip the bottom inch or more into the rooting hormone powder, making sure some wounds from the leaf removal are buried. Then make a hole with a pencil in the growing mix and place the bottom of the stem into the soil and press down on the soil around the stem to hold it in place. Don’t press the cutting itself straight into the growing medium without making a hole, as this will rub the growth hormone off of the stem.
Taking care of cuttings
I’ll put my cuttings in my greenhouse in another month or so, but you can also make a small, pot-sized greenhouse for your cutting by placing an empty plastic jar, cut soda bottle or plastic bag over the plant. If you use a plastic bag, place straws or skewers around the plant to prevent the bag from touching the plant. The bag will keep the humidity high to reduce the amount of moisture loss. Keep the growing medium consistently moist.
Place the cutting pot in bright, but indirect light in a warm spot like a windowsill that doesn’t get direct sun. You can also use a heat mat, available at nurseries or garden centers and online, to encourage rooting.
Next spring, after the danger of a frost has passed, the cuttings will be healthy plants, ready to go out into the landscape.
Local Landscape Designer and Garden Coach, Diana Kirby, provides landscaping tips on Facebook at Diana’s Designs, at www.dianasdesignsaustin.com and writes a garden blog at www.dianasdesignsaustin.com .