winter

Getting cozy in the greenhouse…

In Central Texas, sunny 80-degree days dance with us periodically throughout fall and winter.  But, we still have to prepare for the occasional cold spell.

I have to be particularly careful because most of the potted plants in my collection are tropical or subtropical.  The plumerias begin to wilt at close to 50, dripping and dropping yellow leaves.

Two weeks ago, we prepared for a 47-degree low and all the pots were rushed into the greenhouse. (You can see more about this annual process here.)

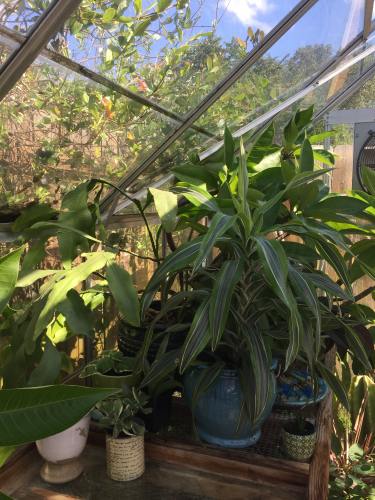
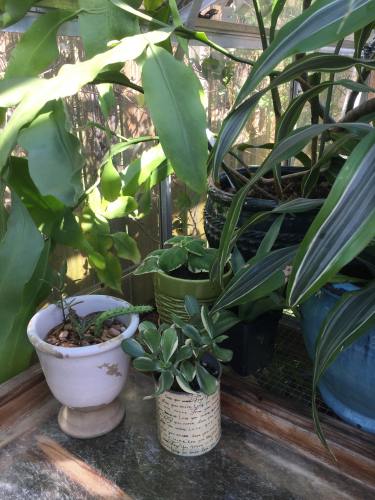
A few of them needed haircuts to fit into their winter home and the rest were carefully nestled inside like a Tetris puzzle.

The greenhouse has to be divided to provide sun for the sun lovers and shade for the more delicate plants.

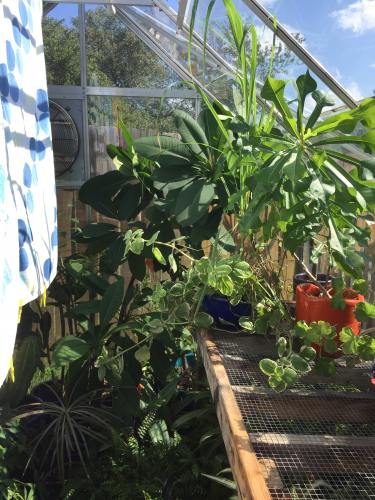
I typically drape shade cloth down the middle of the greenhouse on a shower rod on top of the ceiling supports.

But, I’d thrown out the shade cloth  bits and scraps I’d cobbled together for the last few seasons and didn’t have any in time for the emergency arrival of the immigrants.

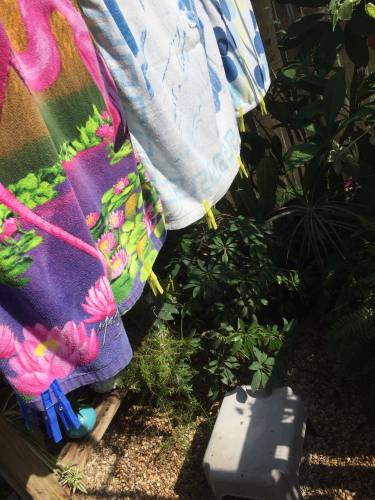
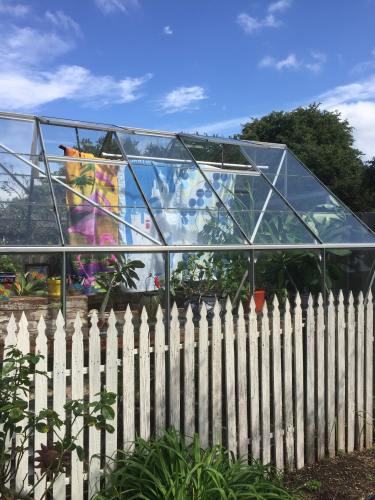
So, I improvised.  Now a colorful collection of beach towels from around the world adorns the little glass house.

One is from Costa Rica and another is from a cruise Jeff and I took to Santorini, Greece in 2000.  In case you were wondering, the 3rd is from Target!

After mid-day, the plants on the east side get some much-needed shade and those on the right get to bask in the sun for the rest of the da

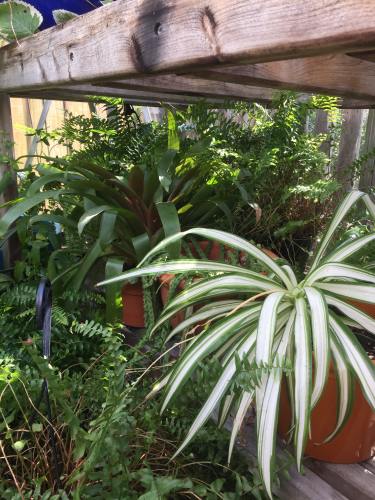
Shade lovers also get to hang out on the  bottom shelves while those on the upper bunk provide cover.

In close quarters, I get to enjoy the plants one-on-one through the winter.  I keep the automatic heaters on when it gets below 50 to keep the tropicals happy and prevent dormancy.

On hot days, the automatic fan turns on and I open up the 4 ceiling windows and the doors.

The greenhouse temperature on sunny days will get about 20 degrees higher than the outside temperature.

If it reaches more than 80 degrees outside, I wet the pea gravel floor once or twice throughout the day to help cool it down inside.

Sometimes, on a sunny-but-cold day in the dead of winter, I’ll pull in a lawn chair, turn on my iTunes, eat some lunch and soak up the sunshine for a little while.

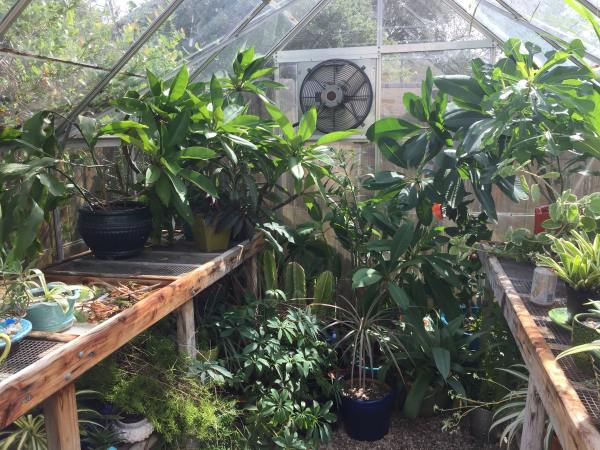
Here they are, all tucked in for the  winter chill.

Can you name all the plants in this picture?

See the before pictures as we began prepping the site to install the greenhouse.  I posted about it exactly ten years ago today!

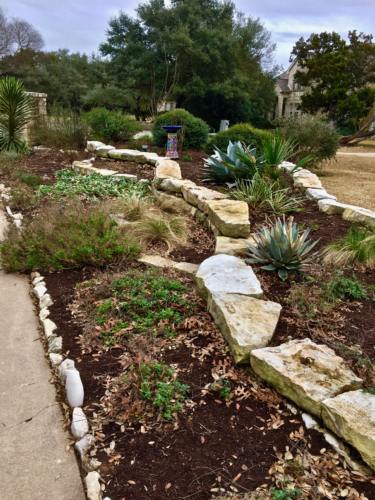
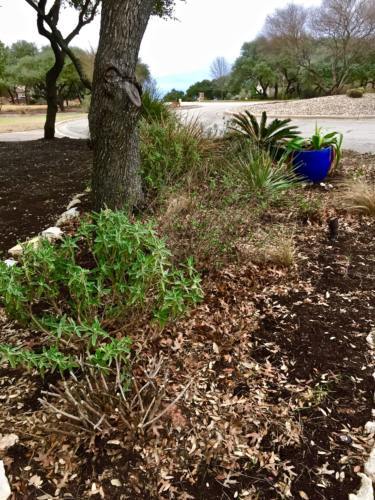
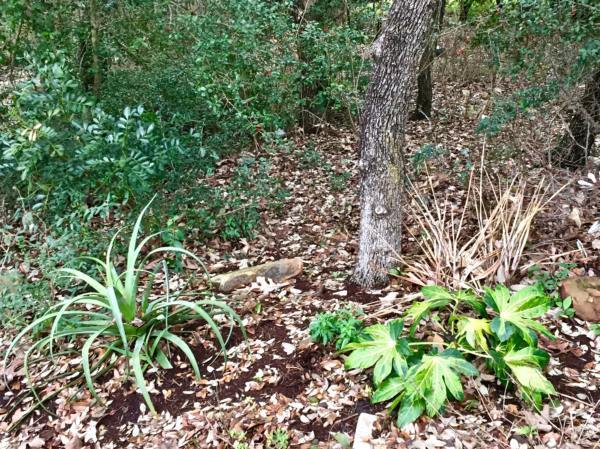
Now that everyone is settled in, I’ll turn my attention to propagating, planting seeds and digging up some outdoor landscape plants to overwinter in the crystal palace.

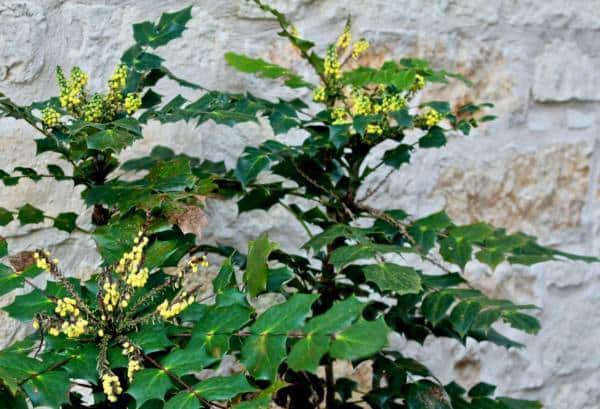
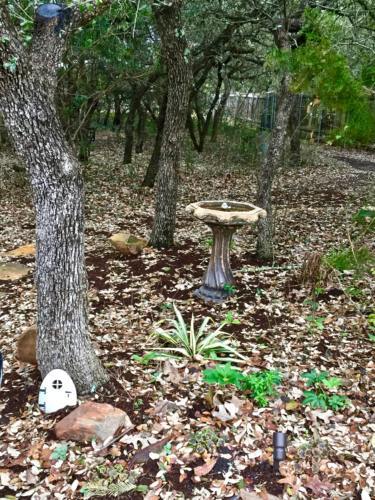
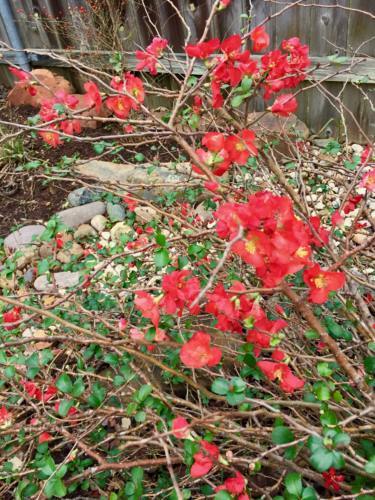
I love it when volunteer plants show up in the garden and I can pot them and keep them in the greenhouse until spring.

Where will your potted friends spend the winter?

How far into the moving process will you be before this comes out of your mouth?

“I’m not going to plant so many pots next year.”

Let’s just get it over with now.  You say it.  We all know you’re lying, because we’re telling ourselves the same lie.  Just get it off your chest and embrace the obsession.  You’ll feel so much better come spring!

Have yourself a happy little winter.

Plants that shine in the winter garden…

After a few days and nights at 21 degrees, my Central Texas garden took a serious hit last month.  But, we were due.  Last year it didn’t freeze at all in my garden, so you can imagine how huge some of our perennials were by the end of 8 seasons of growth!

Our typical winter includes a few freezes, but the temperature dips to around freezing for a few hours and then climbs right back up during the day.  Not so this year.

I’m leaving the last of the fall leaves in the beds to help protect the plants and provide habitat for bees, so you are going to see the good, the bad and the very ugly.  It’s an all-exposed tour.  Viewer discretion is advised — you may need to avert your eyes in some parts!

IMG_2147

While the ferns and the bletilla striata are dormant, he dry creek pathway is lined with hellebores, a few sedges, a few cephalotaxus prostrata.  Mostly out of view on the left are two leatherleaf mahonias.

IMG_0298

The brilliant yellow berries on the mahonias add great color to the garden on gray winter days.

IMG_0300

In drought years, the foliage of the hellebores disappears in the summer garden, and reappears in fall and through the spring.  I have a collection of different varieties.  Below is a winter photo of my favorite – ‘Phoebe,’ from several years ago when we had snow.

DSC_3618

Isn’t that a gorgeous bloom?

IMG_2150

Where the path diverges, a few more sedges and a standard Japanese aralia and a variegated Japanese aralia add a pop of green.  The squid agave in the Artemis statue head was unfazed by the cold.  Farther back, a small clump of cast iron plant draws the eye.

IMG_0295

I’ve had this aralia for a long time.  It’s been through drought and covered in ice in bad winters, but nothing seems to slow it down.

IMG_0306

This fall I planted another aralia variety – a variegated one.  I was a little concerned that it might be more tender than the other, but it has held up beautifully.

IMG_2157

In the front bed, the one we jokingly call the hideous bed, natives and other well-adapted plants are hanging on.  Catmint, skullcap, Mexican feather grass, a whale’s tongue agave, salvias, Mexican sabal palms and a Spanish dagger yucca are all going strong.

IMG_2159

Across the driveway, more xeric plants are showing off, like the Jerusalem sage, a Texas sotol, a sago palm,  and some salvia Greggii.

IMG_0304

You’ll find Jerusalem sage in many parts of my garden.  It’s unusual color makes an intriguing contrast — and its fuzzy leaves make it completely deer-resistant.

IMG_2146

Another variegated fatsia Japonica is keeping a squid agave and a mountain Laurel company.  Sadly, the dianella in the background looks like it’s toast.  I’m hopping it was established enough to come back from the roots quickly, once spring arrives.

IMG_2145

A bright edge yucca, several more hellebores and a few almost hidden heucherellas are peaking out of the carpet of leaves.

IMG_0305

Bright edge definitely earns its name!

IMG_0303

I added a few new compact shrubs to the front beds last year.  These ‘Flirt’ nandinas make a beautiful middle-layer, evergreen addition and their added burgundy tips coordinate well with the larger loropetalum.

IMG_2144

One of my favorite plants for winter/spring interest is Japanese quince.  It’s sculptural and almost-bare branches are sporting a flush of gorgeous, salmony-pink blooms.

IMG_2143

The butterflies are so thankful that at least something is blooming out there!

IMG_0193

And no matter what the plants are doing in the garden, we can always count on at least a few cardinals on our many feeders in the wooded area.

While these aren’t the prettiest pictures of my garden, they allow me to see the true bones of the landscape, and evaluate the beds to determine what projects I’ll want to undertake in the spring.

Take care of tools to save time, money and work

caring-for-your-gardening-tools-implements
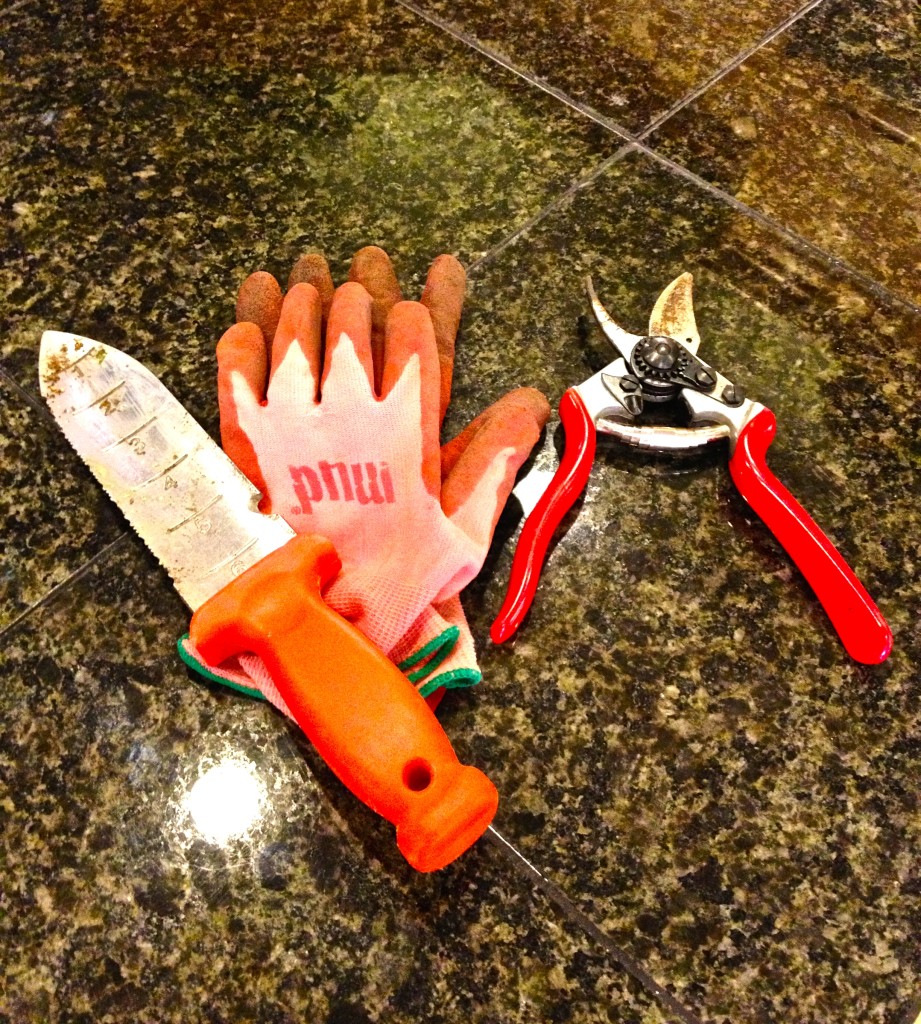
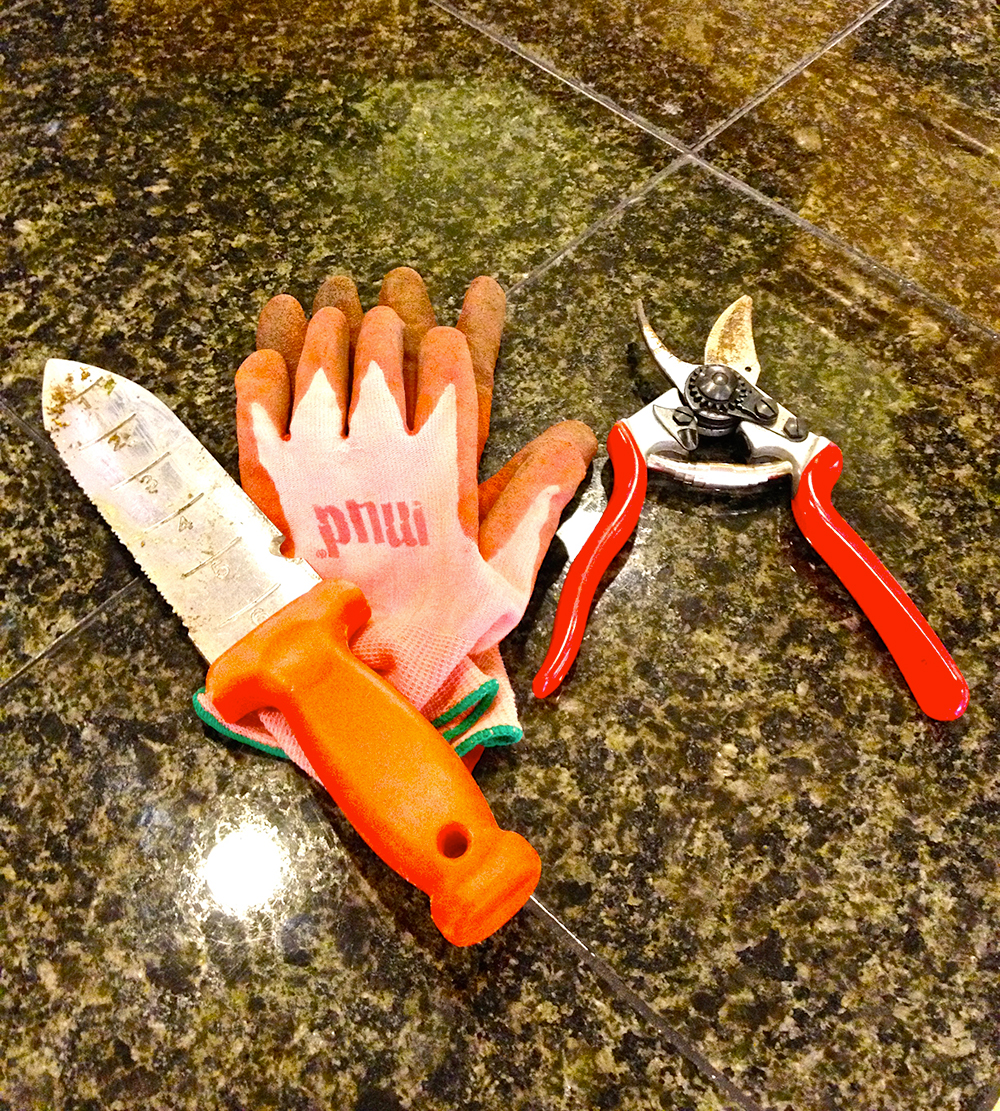
For cold climate gardeners, now is the time to bring in tender plants, clean and put away the tools, and curl up with seed catalogs to wait for spring. Here in Central Texas, where we garden and use our tools most of the year, tool maintenance should be a regular practice.

Even the most meticulous gardeners spin tool horror stories. Like the tale of the fish that got away, any gardener can entertain you with stories about pruners left in the rain or spades left in the compost. We’ve all done it. My best tool tale involved my tossing an uncapped construction paint can into a bucket where it immediately began spraying the Felco pruners in the bucket and the grass and everything else around it a bright, Day-Glo orange.

garden-tool-maintenance-removing-rust-from-shears
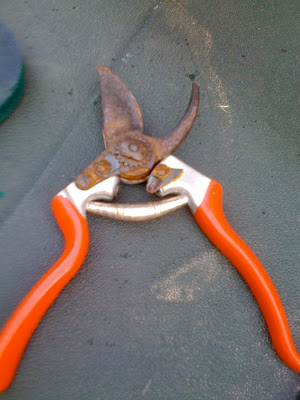
Taking care of your tools makes gardening easier. Rust-free pruners cut more easily and don’t crush and damage tender plant stems. Sharp shovels and hoes require less effort to push into the ground. A little linseed oil will go a long way to lessen the amount of elbow grease your need to accomplish your gardening chores. And if you’ve priced good bypass pruners lately, giving tools a longer life means more money for plants.

Designed to make clean up a simple habit, use these quick-care tips to lighten your gardening load

Rinse off your tools immediately after using them. Stuck-on wet soil, especially our terrible clay, sets the stage for rust to begin degrading tools. Use a scrub brush or S.O. S. pad to remove any stubborn remains. Wipe them dry with a rag and leave them outside for a while to fully dry.

Just as you carefully oil and ‘season’ your cast-iron skillet, oiling your tools will also give them longer life. Fill a small plastic container with sand and barely moisten it with linseed oil, or even motor oil. Then push your hand trowel down into the moistened sand, pull it out and let the gritty mix help you clean your tool as you rub it with a rag, removing all the sand.

For tools that have collected sticky plant sap or resin, use a little paint thinner on a rag to remove the residue before the sand cleaning process.

If your pruners are already sporting a nice burnished coating of rust, roll up your sleeves and start by taking them apart. The most important rule to remember – as you begin to disassemble – lay each part out in a line on the counter in the order in which you removed it. Use steel wool or sandpaper to begin removing the rust. Then wipe the tool off and finish with linseed oil.

Travis County Master Gardener Sheryl Williams recently hosted a tool cleaning and sharpening gathering for a small group of Austin garden bloggers. She showed us her techniques.

“I grew up in a hunting family,” said Williams. “My grandpa taught me early on how to sharpen a knife using a whetstone, and then later taught me how to sharpen a hoe and a shovel.”

“I know some novice gardeners who have simply thrown away their tools because they didn’t know they could be sharpened.”

To sharpen tools, clean them, then use a sharpening stone or a file to sharpen the beveled portion of the blade. For hand pruners, a 6” smooth file should work, while hedge trimmers and loppers will probably require an 8’-10’ mil file. For harder steel tools, you may finish with a diamond or ceramic hone as well.

Do not sharpen both sides of the blade; make sure each filing stroke goes down the entire length of the blade with the file parallel. Don’t file across the blade or on the back side of the blade. This can lead to nicks and damage to the blade.

Williams keeps her sandy bucket and rag by her tools and makes a quick cleaning part of her routine each time she gardens.

Williams summed up best motivator of all for developing proper tool maintenance habits, “If you’re using dull or dirty tools to garden, it’s going to take much more human effort to do it.”

Local Landscape Designer and Garden Coach, Diana Kirby, provides landscaping tips on Facebook at Diana’s Designs, at www.dianasdesignsaustin.com and writes a garden blog at www.dianasdesignsaustin.com.

By |2017-11-29T23:26:58-06:00November 28th, 2015|Articles|Comments Off on Take care of tools to save time, money and work

Plan, prep for Spring’s garden

txaas_mastheadgardening tools

Getting more organized rests somewhere in the middle of my lengthy list of New Year’s resolutions. It includes staying on top of my regular gardening chores and getting ahead of each gardening season before it’s upon me.

With spring around the corner, the first step is taking stock of the garden and setting some goals. This is the time to make not just a mental list, but to put pencil to paper and get tough on your landscape. Think about both tasks and major projects that you either need to do or want to accomplish.

Does your walk around the garden with a critical eye make you cringe?  Cracks in the patio, rotting wood, and muddy trails can all make your outdoor space tired and worn. Do raggedy landscape borders, splitting plastic edging, and washed out beds—devoid of soil and mulch—taunt you?

Then it’s time to take care of business. Use the end of winter to repair or take on new hardscape or structural projects. Plan out your project and shop building supply sources for sales or hire some help to take care of the more complicated projects. Start now, and you can check the big projects off your list. Then you’ll be ready in time for the fun stuff when local nurseries are filled to the brim with budding plants.

In addition to tackling sizable projects, there are also many simple chores you can cross off your list now.

Winter to-do list

Clean out your pots and containers. It’s important to start fresh when you pot up new plants.  Old pottery can contain salt deposits or diseases borne by last season’s plants. Physically remove old dirt or debris with a scrub brush. If you can, submerge the pots in a solution of 1 part bleach to 9 parts water. If the pots are too big for that, pour the water all around them.  Then be sure to rinse them well and dry them in the sun.

Take stock of your garden tools. Rusty, dirty, dull, or broken tools need to be prepared for the hard work you’ll demand of them when the weather warms up. First, scrub your tools with soapy water and dry them well. You can use steel wool or a wire brush to remove rust.  Then smooth out old wooden handles with a little elbow grease and some sandpaper. Sharpen your clean equipment with a metal file, smoothing out nicks or jagged edges. Finally, apply a little lubricating oil to the metal blade and wooden handles and rub it in well so it isn’t slippery. And if your pruners have seen better days, consider buying a new pair. Nothing makes garden work easier than a shiny new pair of pruners.

Check your irrigation system. Whether you have a sprinkler system or you’ve set up your own drip hose system, give it a good inspection, looking for leaks, clogs and areas not receiving adequate coverage.  Making sure everything is in good working order will save time and money later, preventing you from having to dig up dead or dying new plants in the spring.

Amend your soil.  Does clay or limestone make digging impossible in your garden? Did the scorching summer heat turn the soil in your beds rock-hard? Use this time to amend the soil in your beds.  A good soil blend, with some form of compost, granite sand and gypsum can help to lighten up our poor soil. There are many good independent local sources for soil–both in bulk and bagged–that work well in Central Texas.

Clean your birdhouses.  In March, make sure your birdhouses are ready for their new inhabitants. If the house is vacant, open the roof or the back door to the house and empty out the nest. Wipe down the box with a bleach solution like that used for cleaning your pots. Then hang it back up with a welcome sign for a new brood of baby birds.

While winter is a slower season in the garden, it doesn’t last long here in Central Texas. The time for putting your feet up and perusing seed catalogs is quickly coming to an end. Make sure you’re ready when the garden calls again.

Local Landscape Designer and Garden Coach Diana Kirby provides landscaping tips at http:/www.dianasdesignsaustin.com and writes a garden blog at https://www.dianasdesignsaustin.com

By |2017-11-29T23:27:03-06:00January 24th, 2015|Articles|Comments Off on Plan, prep for Spring’s garden

Austin’s temperate climate yields year-round vegetables

It’s hard to believe that we can still plant a last round of winter vegetables right now.

But instead of protecting our vegetables from freezes like we would in a ‘normal’ winter, we might be shading them from the hot sun.  While vegetables like chard, baby beets or newly sown carrots can be susceptible to a strong frost; lettuce and sweet peas can wilt or bolt with too much heat.

The unseasonably warm weather we’ve been having has confused both plants and people alike.

But then, that’s what gardening is all about, isn’t it?

Second-guessing Mother Nature.

For the next few weeks, (we assume that winter will eventually make another appearance) there is a window of planting time left for some more wonderful winter vegetables.

Now is the time to plant seeds and transplants of these vegetables:

  • Onion sets (the width of a pencil or smaller)
  • Shallots
  • Cabbage transplants
  • Cauliflower transplants
  • Turnips
  • Broccoli transplants
  • Swiss chard
  • Collard transplants
  • Beets
  • Spinach
  • Lettuce
  • Potatoes
  • Asparagus crowns
  • Kale transplants
  • Leek transplants
  • Radishes
  • Cool season English peas

In addition to late winter vegetables, now is also a good time to plant strawberries, bare-root fruit trees, berries and grapes.  For more specific information on planting fruits and berries, check with your local independent nursery.

Now is also prime time to plant cool-season herbs like chives, cilantro, parsley, dill and fennel.  Watch for cold weather, though, dill and fennel will need to be covered if it freezes. 

To succeed with your vegetable planting there are different strategies for growing different kinds of seeds.  Seed packets have specific information for planting – be sure to follow the directions for how deep and how far apart to plant the seeds.  But there are some other planting and growing tips you might not find on the back of the envelope.

Lettuce and spinach seeds should be planted gently and should not be planted deeply.  They need light to germinate, so sprinkle them and keep them misted daily until they sprout.  Soak beans, peas and carrots overnight to help them get started.  This helps speed up the growing process

On particularly warm days, consider setting up a little shade cloth to help keep your lettuce and greens from bolting. If you don’t have shade cloth, something as simple as an umbrella set on its side can help give them some cover from the warm afternoon sun.  And be sure to keep the lettuce seeds moist during the approximately 10-day germination period.

English peas will need a trellis to climb.  If planted now, peas should produce by early March.

With our clay and caliche soils, it’s best to loosen the soil to about a foot deep before planting carrot seeds.  The seeds should only be planted about 1/8 to ¼ inch deep, but this will prevent you from harvesting stunted or deformed carrots because they couldn’t force their way down through the hard soil.

Beets produce seed clusters that contain several seeds rather than seeds that produce one plant. When the seedlings come up, thin them to one plant per group for the largest beets. You can also eat the micro greens that you thinned out.

Once any seedlings appear, you do have to thin them out.  I know, they’ve come up, they’re alive, why not leave them all there to grow?  It’s more to eat, right?  Well, no. (It’s painful for me to thin, too.  Live plants are, after all, live plants.)  But, if you thin them out, you give the remaining seedlings room to grow more vigorously and you don’t crowd their roots or make them fight for water or nutrients.

For many plants, like lettuce, broccoli and cabbage, stagger your planting time by putting in a few plants each week for the next 3 weeks so your vegetables aren’t all ready to eat at once.

While we enjoyed a little rain to end 2011, it’s been dry again since the first of the year.  Climatologists are continuing to forecast to warmer and drier than average weather into the summer, so don’t forget to water your vegetable garden regularly to keep tender new plants growing and strong.

Growing your own vegetables is fun and rewarding.  There is something energizing about being outside in the sunshine, harvesting your vegetables and then enjoying a fresh, tasty dinner.  And luckily, Central Texas gardeners can enjoy the pleasures of vegetable gardening year round.

By |2017-11-29T23:27:19-06:00January 2nd, 2012|Articles|0 Comments

Some plants like bare feet in the winter

By now, most central Texas gardeners have experienced at least a light frost if not a hard freeze.  Our summer-loving perennials are fading, losing blooms, dropping leaves and going to seed in preparation for winter dormancy.

While it may seem like it’s break time in the garden, now is actually a great time to plant a number of things.  Nurseries are now stocking up on bare root plants – a wide variety of plants, vegetables and trees that are available for sale with their roots exposed instead of planted in containers with soil.

Bare root plants are dormant, dug up by the grower and kept cold until they are shipped.  They weigh less without soil and containers and are much easier to ship, therefore, they are a great value because they cost less.  Once the plant is placed in the ground and watered, it will begin to grow again.

According to Jeff Ferris, of the Natural Gardener, “It is less expensive to plant a bare root tree.  If a bare root tree and a container tree are planted at the same time, with the exact same care and conditions, they will reach the same height at the same time.”

Larger container trees take longer to overcome the setbacks and shock of transplanting from the grower and having their roots cut to place them in containers.  So buying a smaller, bare root tree will give it a better start and cost less, too.

What kinds of plants are available bare root?

  • Fruit and nut trees
  • Berries
  • Vegetables
  • Roses
Fruit trees

Most fruit trees require a specific number of “chilling hours” to grow and fruit properly.

This is the number of hours of winter temperatures between 32° to 45° F to break dormancy and induce normal bloom and vegetative growth. Varieties with a chilling requirement that is too low are likely to bloom early and be more susceptible to frost. If the chilling requirement is too high, they may be very slow to break dormancy and may abort fruit.

According to Texas A&M University’s Agricultural Extension Service, Travis County has approximately 700 average chill hours.  (Bear in mind, “average” is a very slippery slope for central Texas gardeners, given our seesawing weather patterns in recent years.)

The specific varieties listed below meet the appropriate chilling requirements for the Travis County.  (In an “average” year!)

Peaches  (Well-adapted to our extreme climate swings)

  • TexStar
  • La Feliciana
  • Spring Gold
  • June Gold
  • Bicentennial
  • Sentinel
  • Harvester
  • Red Gold
  • Dixiland

Plums

  • Methley
  • Morris
  • Ozark
  • Premier
  • Alfred
  • Bruce

Pears  (Easy fruit trees to grow, require least pruning and insect control)

  • Ayers
  • Magness
  • Orient
  • Maxine
  • Keiffer
  • LeConte
  • Moonglow

These are generally the most popular fruit trees grown in our area.  Apples, apricots, citrus, figs, pecans, persimmons and others can also be grown successfully in central Texas.  Ask your local nursery expert about well-adapted varieties of these trees.

Some trees are self-pollinating, however most fruit trees require cross-pollination. These trees need pollen from another tree to produce fruit, and the tree must be a different cultivar.  Pollen from its own flowers or those of another tree of the same cultivar will not successfully pollinate the female parts of the flowers, due to incompatible timing.  Be sure to check with the nursery to determine if a specific variety needs a pollinator to produce fruit.

Berries

Grapes  (Nearly half of all species of grapes are native to Texas. While wild mustang grapes are prolific here, they aren’t as versatile for table use.)

  • Blanc Du Bois
  • Champanel
  • Golden Muscat
  • Carlos
  • Jumbo
  • Magnolia

Black berries

  • Brazos
  • Womack
  • Shawnee
  • Rosborough
  • Navajo
  • Arapaho
  • Brison

Strawberries

  • Chandler
  • Sequoia
  • Douglas
  • Tioga, Fresno, Tangi

Raspberries

  • Dorman Red
Vegetables

Artichokes

  • Green Globe
  • Imperial Star

Asparagus

  • Martha Washington
  • UC 157
  • Jersey Giant
  • UC 72
  • Jade Cross
  • Long Island Improved
  • Diablo
Roses

There are at least 100 varieties of roses that grow well in central Texas – far too many to list.  For specific varieties, from climbers to floribundas, the A&M horticulture website has an extensive listing at:

http://aggie-horticulture.tamu.edu/PLANTanswers/publications/roses/south.html

How to know if the plant is healthy

If you’ve never bought bare root plants before, they might look like dead sticks.  But there are ways to make sure you’re getting a good specimen.

  • Check for mold or mildew on the roots. If the mold coverage is very light, you can clean it off.  But, if mold covers the roots or the root feels soft, the plant is dead.
  • A healthy specimen will have lots of intact root “hairs.” Check for broken roots, you can cut off the root at the bend but never cut a healthy root to accommodate the size of your hole.
  • The plant may smell earthy, but should not smell bad or rotten .
  • The branches should not be damaged. A few broken twigs are okay.
  • Roots, rhizomes, and other parts should feel heavy. If they feel light and dried
  • out then the plant probably will not grow.

At most local nurseries, customers wrap and bag their own fruits and vegetables – placing the plant and some sand in newspaper, wetting the newspaper and then placing it in a plastic bag around the plant.  I always get a kick out of the process, feeling like I somehow have a more personal connection with the plant after I’ve lovingly wrapped it up to bring home.

How to plant and care for bare root plants

Once you’ve taken your plants home, remove any packing material, such as sawdust or sand and soak the root portion of the plant in water, several hours for woody plants and 10-20 minutes for perennials, asparagus, strawberries, etc.  It is important to get bare root plants into the ground quickly.

Dig a hole that is wide enough and deep enough to put the plant in without

bending or crowding the roots.  Place the plant in the hole at the same level it was grown by the nursery — where the roots start and top shoots begin (the crown). Don’t cover the root graft or the crown of your plants. Spread the roots out evenly and don’t backfill the holes of trees with anything other than the soil that was dug out to create the hole.

Water the plant thoroughly, making sure that the soil around the roots is moist.  And finally, mulch the plant to help protect it.  Water new plants regularly until established.

Bare root trees will probably need to be staked for one year.

By |2017-11-29T23:27:25-06:00December 10th, 2010|Articles|0 Comments
Go to Top