rock

Creating a new garden and dog-friendly landscape

We moved in June, and left behind the garden I built over 16 years.  I feel like I’ve left behind so many dear friends and labors of love.

I have moved on, as the new garden really needs me desperately.  The new owners of my garden have asked for my help in getting to the know the garden and how to care for it.  And, they’ve been very generous about my collecting some seeds and a few volunteers as well.  I look forward to teaching them to care for all my plant children.

So, the new house.  The new old house.  Ivy, actually, three kinds of ivy – English, Jasmine and Virginia creeper, have eaten the entire large, corner lot, and are now trying to eat the house and all of the beautiful live and red oak trees.  Ugh.  And because I need to keep a little of it, eradication is going to be labor-intensive to say the least.

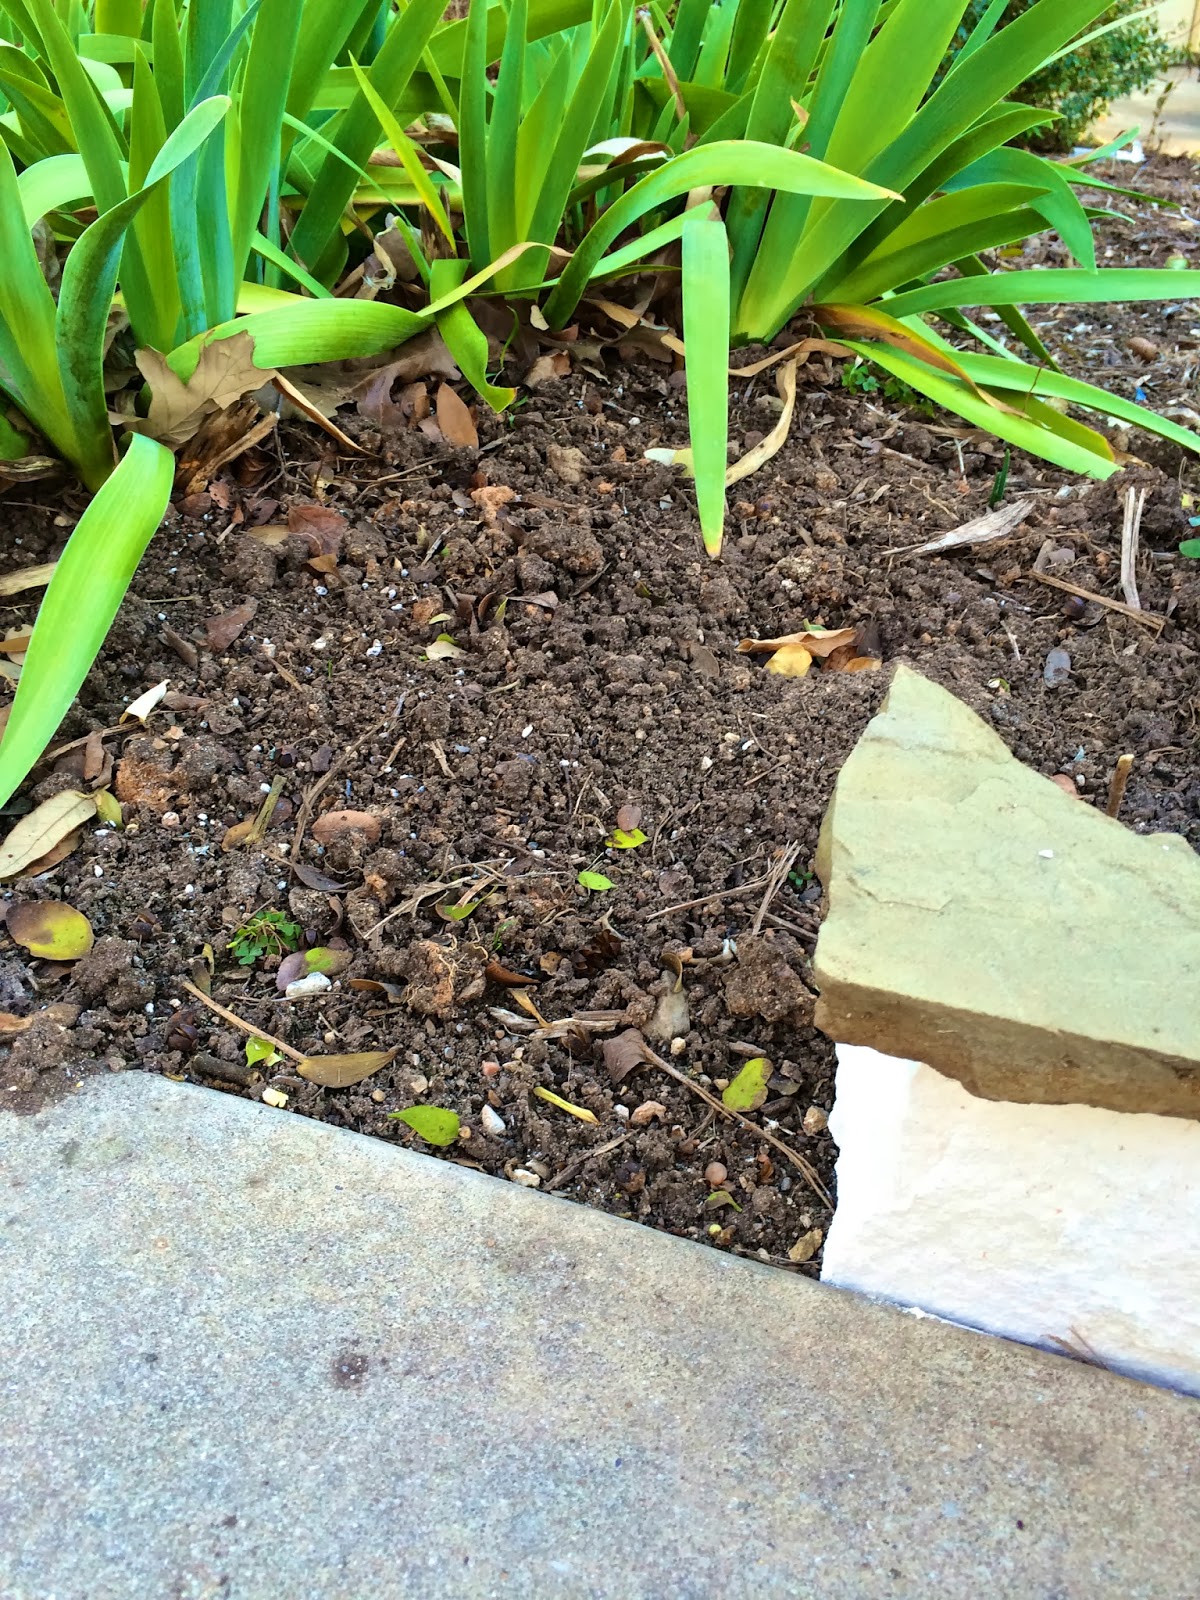
In the back, there was a tiny square of what I believe may have once been grass.  But, it was sad – invaded by ivy, a half dozen volunteer trash trees and a small circle of weeds, it was a poor excuse for a yard for the boys.  So, the first step was to clear the trash trees, dig out the ivy and the primrose jasmine, and open the chain link fence to install a gate to the next grass-creating project.

Dog inspection was critical to the leveling and retaining wall work and they were eager to check out their new space.

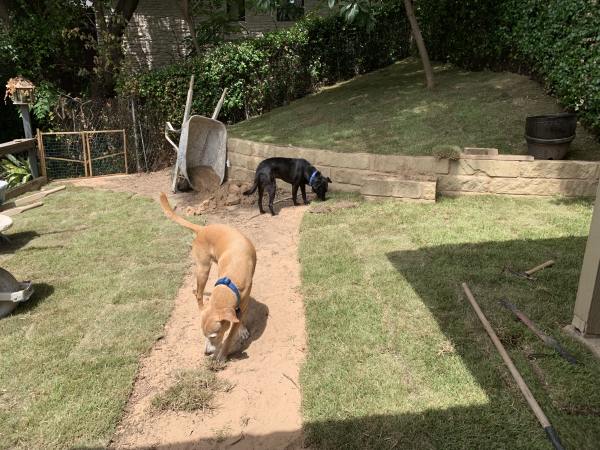
Once done, it was a fine yard for exploring and enjoying, and a lovely loquat tree was rescued from the encroachment, providing just a little shade.

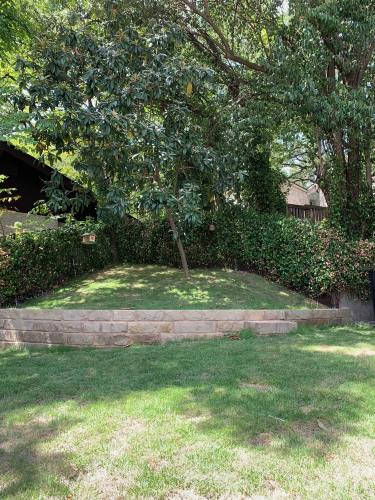
Then, onto the next part of the project.  Along the back of the deck, another incredibly steep slope of ivy and trash trees.  (Surprise, right?)

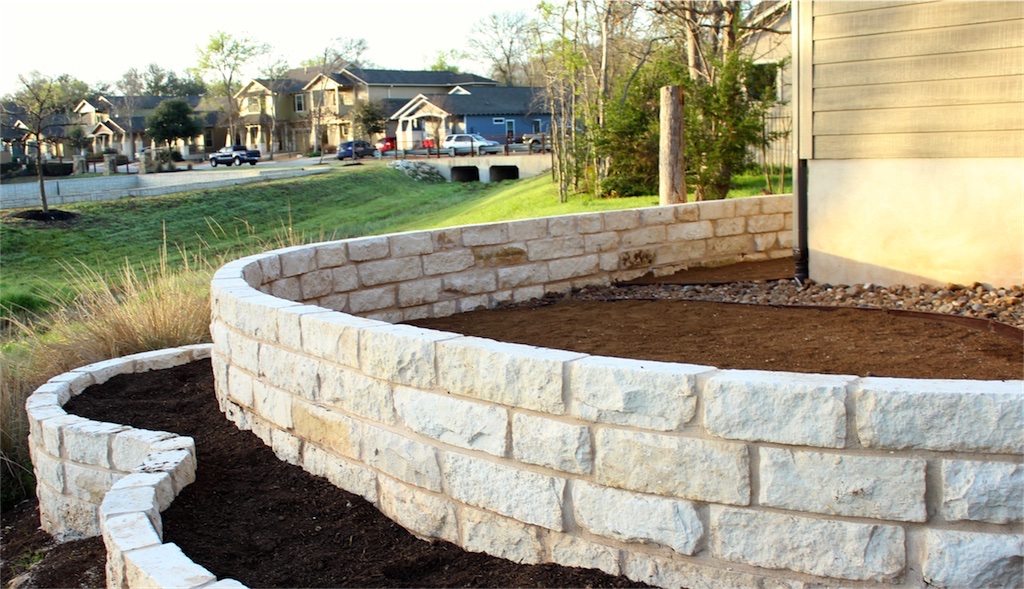
More leveling, more retaining walls, more soil and more Zoysia grass.  Opening up the trees and adding irrigation made a great, long yard for the boys to run behind the deck all the way down to the side street to watch passersby.


A gate at the bottom gives us some more flexibility and access.

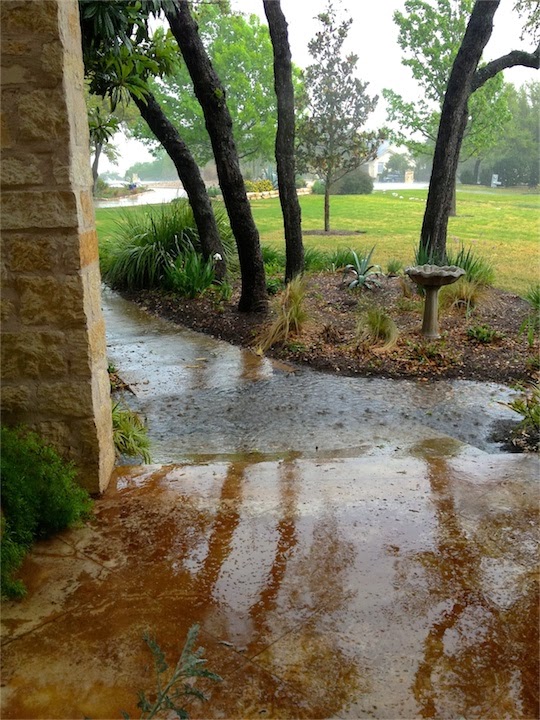
The retaining walls will hopefully keep water from rushing down the hill during the periodic gully washers.

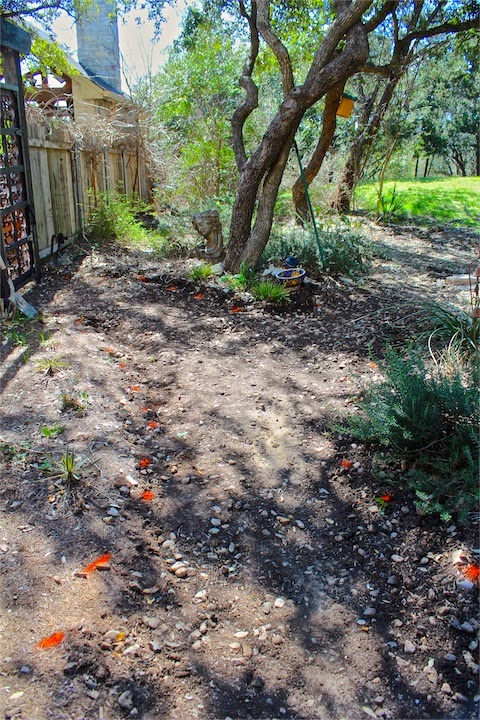
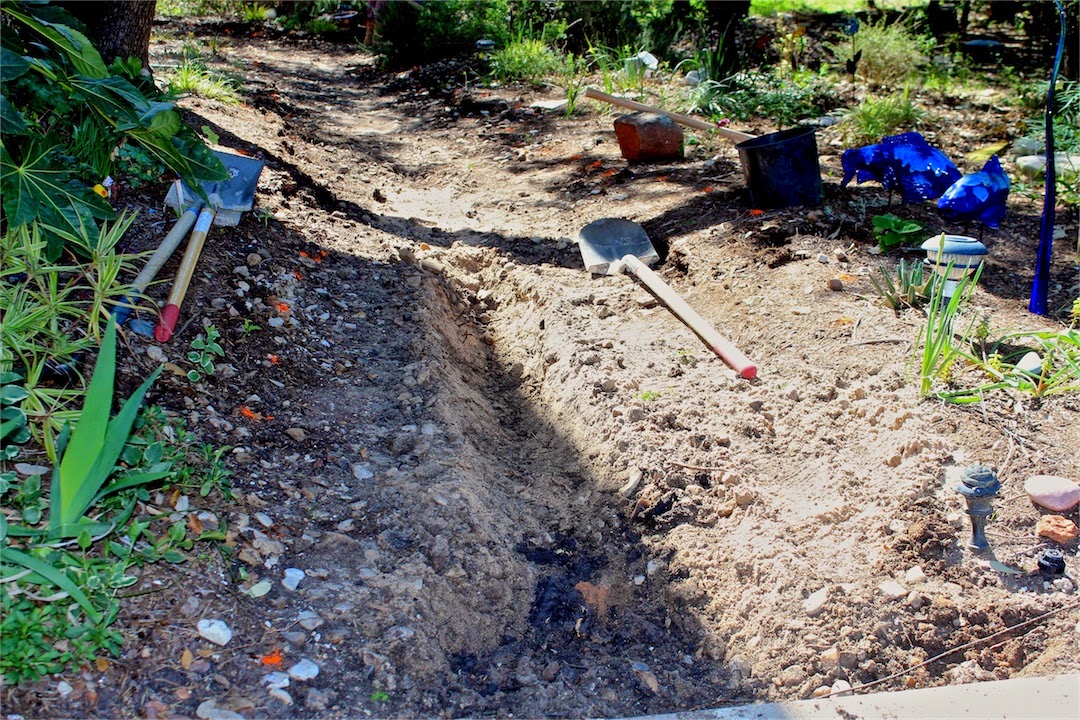
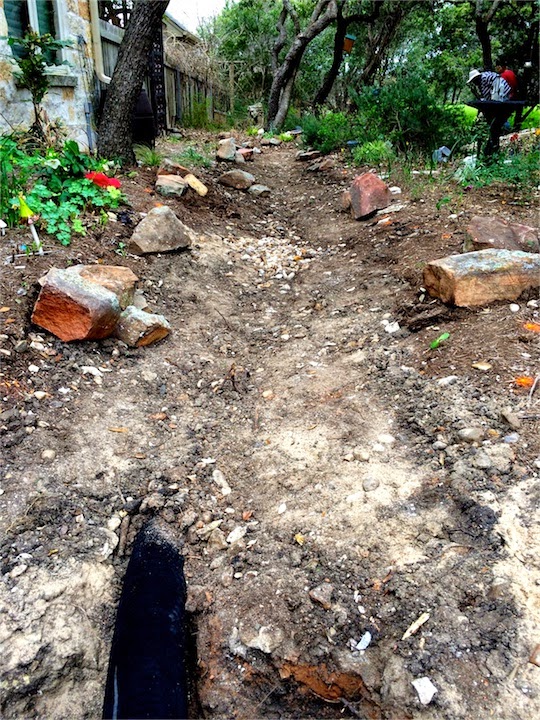
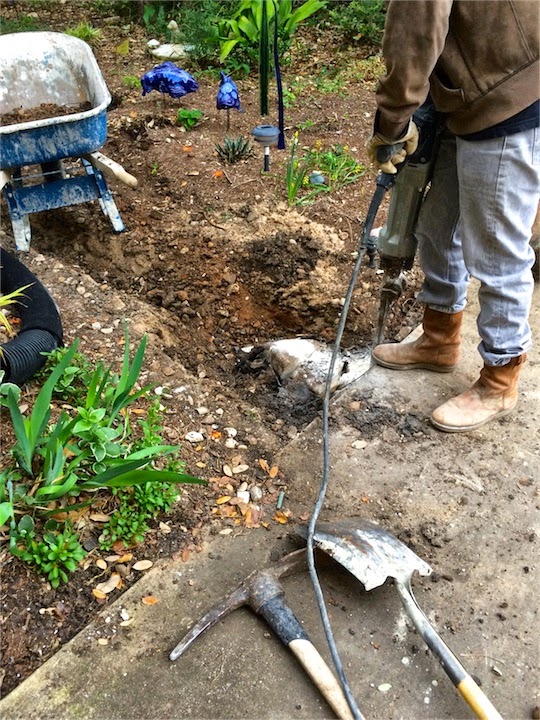
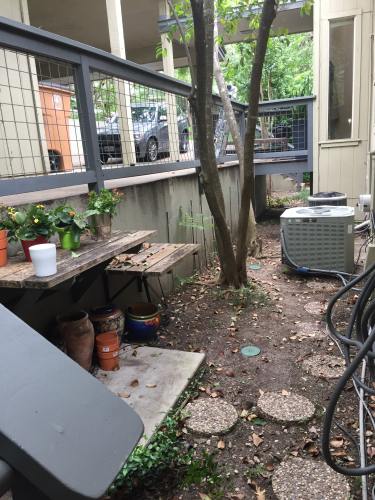
One last dog-friendly project awaited.  On a steep hill, the house has catwalks from the driveway and carport to the house.  In the space below, the owners had let poor grading and dirt erode the side of the house, so we regraded, took out more volunteer trees, installed a French drain and filled the space with river rock.  I had two more gates created so the dogs could run from the back yard and deck to the front next to a courtyard where they watch everyone go by the front yard.

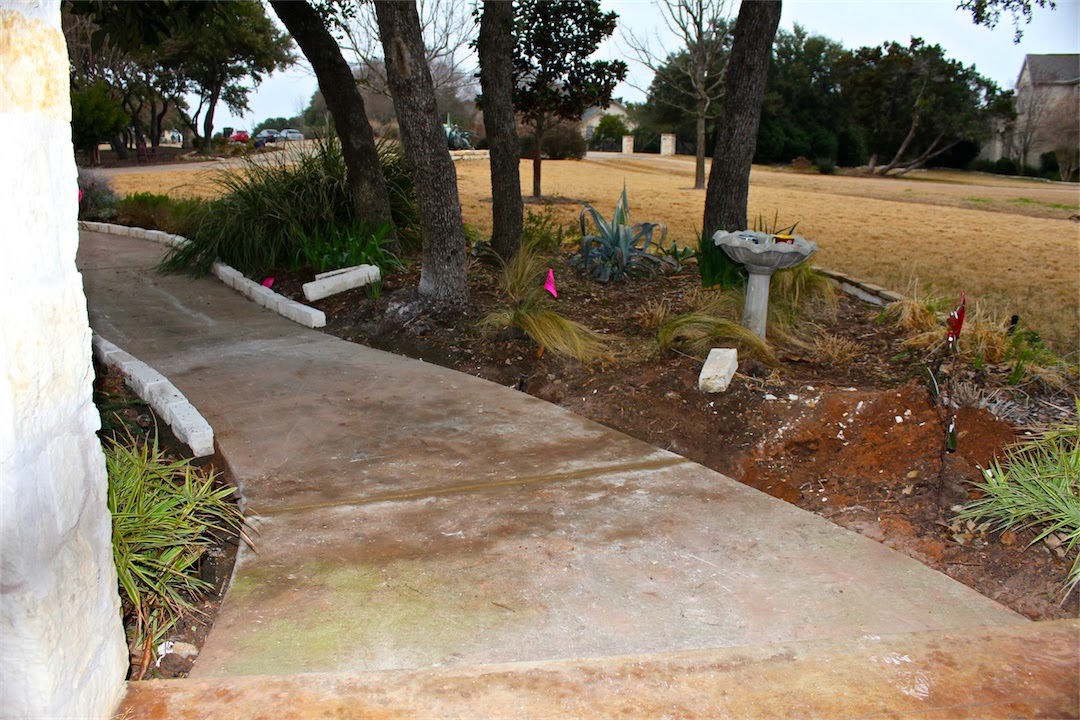
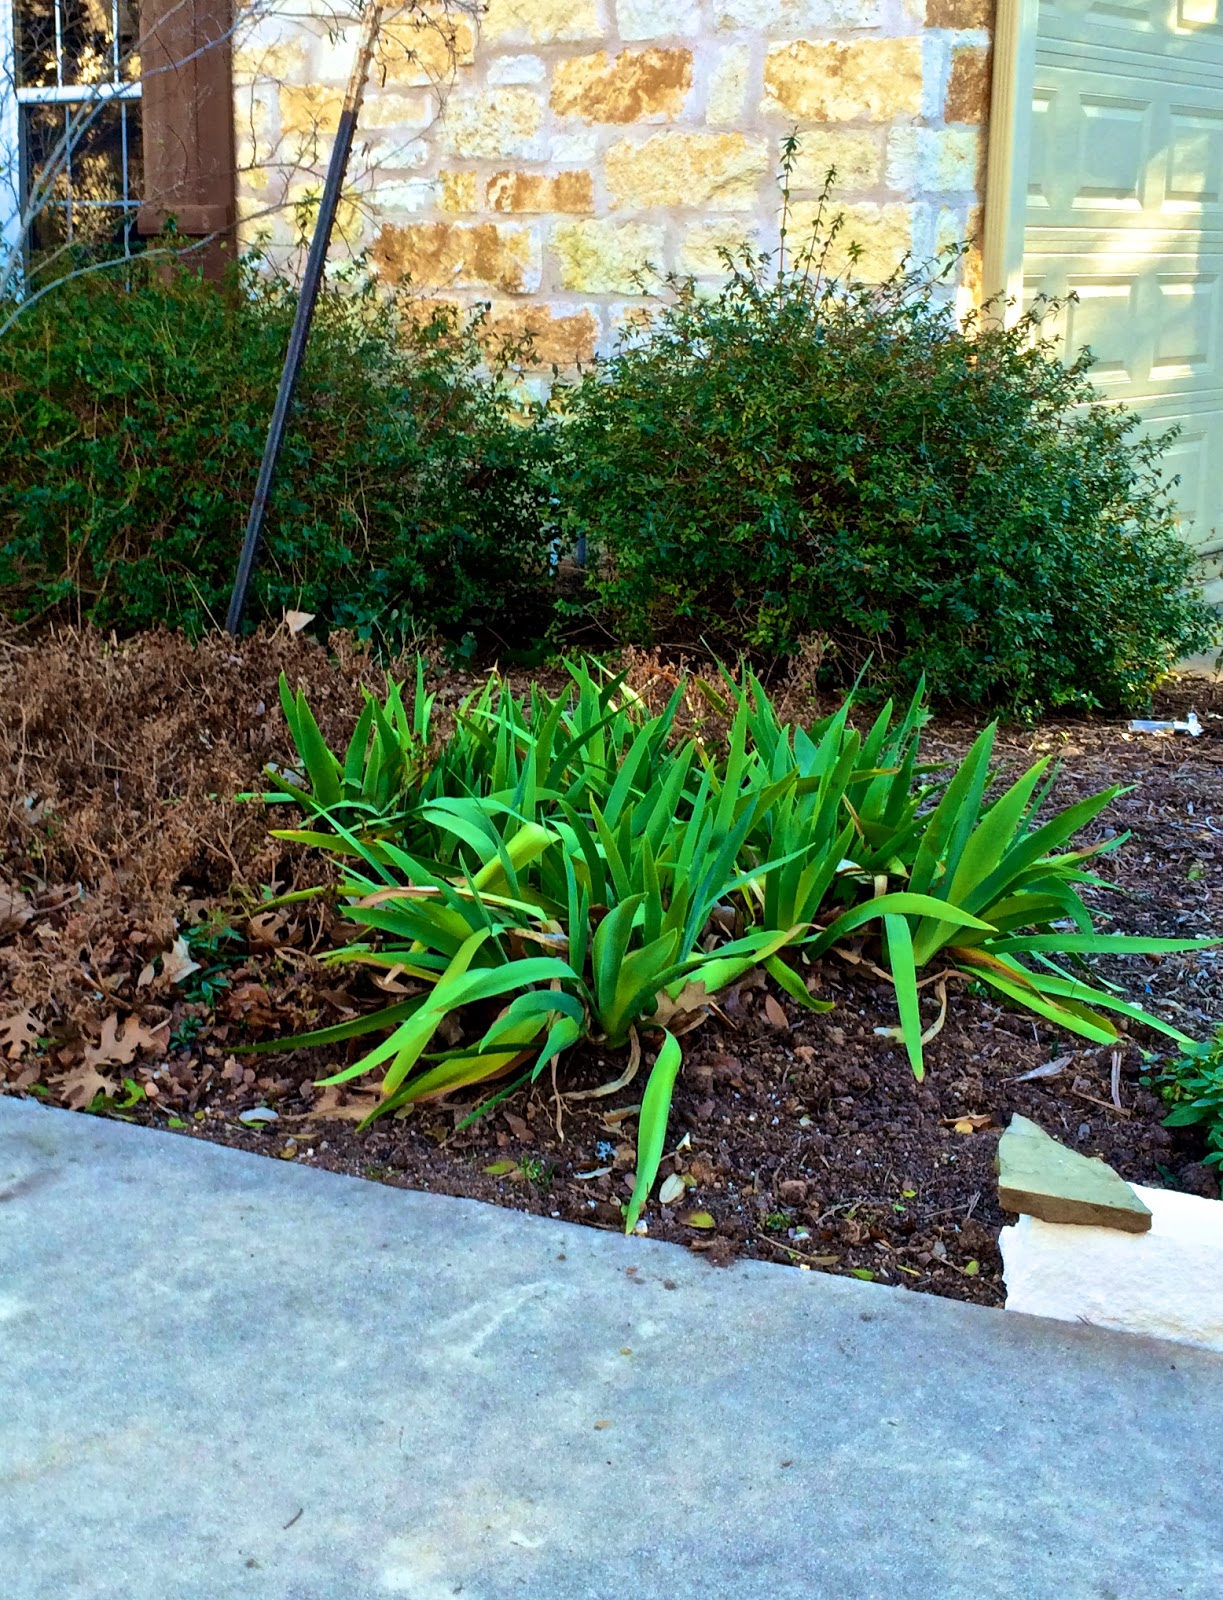
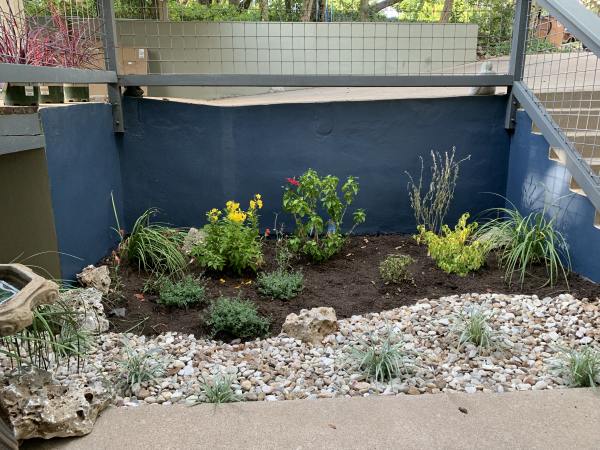
Then it was time to create the first garden bed!  Whoo hoo.  I was so ready for it by this time.  It was the peak of summer and I didn’t have a single flower in the ground on the entire property.  I can’t tell you how depressing that was.

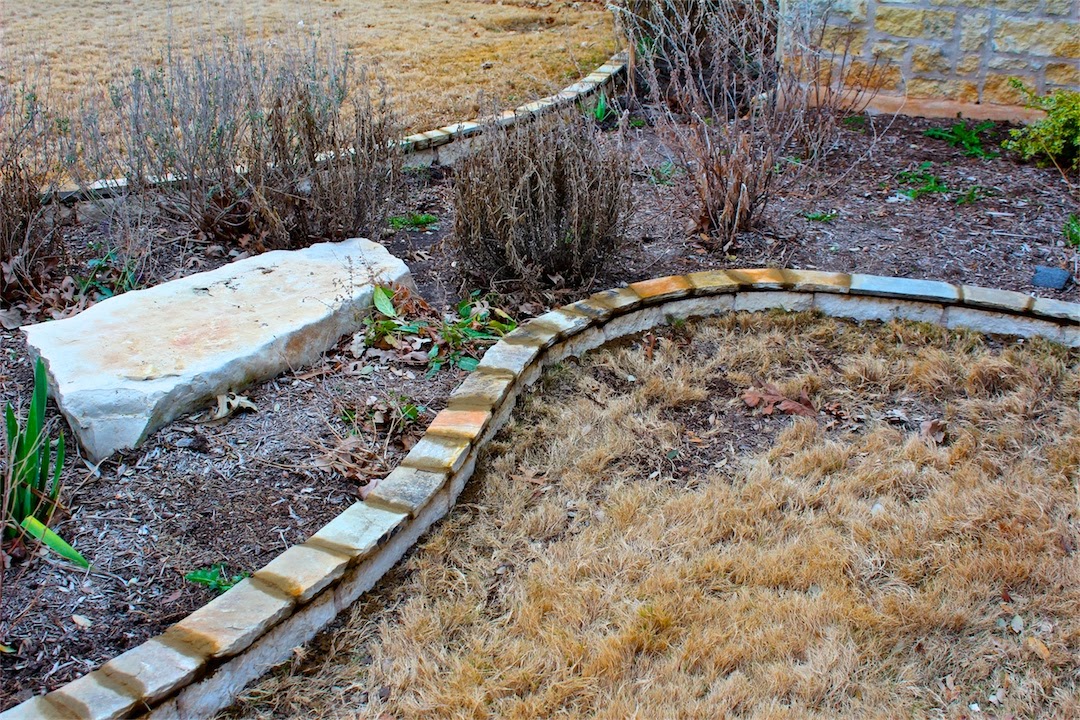
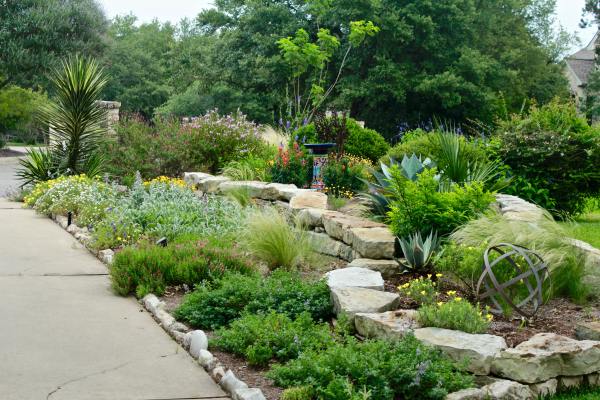
A spindly Crape Myrtle reached so far into the other oaks above the only bare trunks were visible, so we removed that and added an attractive curve to the river rock, building a bed behind it.  A spindly Crape Myrtle reached so far into the other oaks above the only bare trunks were visible.

In sad shape, the enormous concrete wall needed attention.  Step number 1 – get the bed prepped and find the right plants.


Then came concrete painting.  After a good bit of pondering what color would work with the dark sage green of the house, the gray fences and the red doors, I settled on a medium shade of blue.


I decided that the iron art I designed was worthy of so much more than an air conditioning screen, so I placed three of the panels as a focal point in front of the blue.  Wow, does that pop.

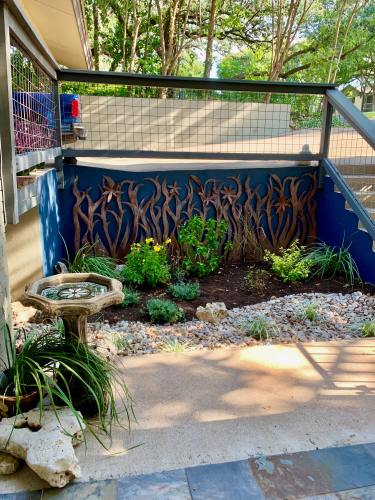
We’re not sure if the large plastic owls mounted all over the property were to keep the local hawk family away from their tiny dog, or to keep birds from pooping on the deck or what.  But, for all the trees, there are precious few birds.  I put a birdbath on the edge of the courtyard and since we are rarely out there, I’m hoping some nearby feeders and houses serve to invite some feathered friends.

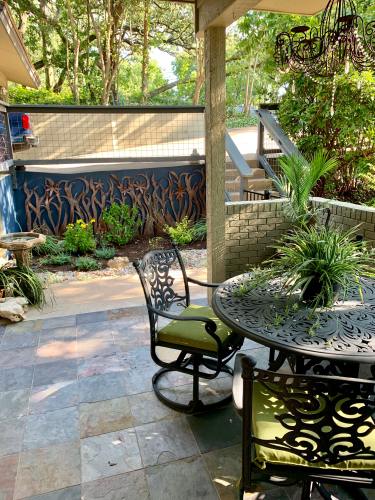
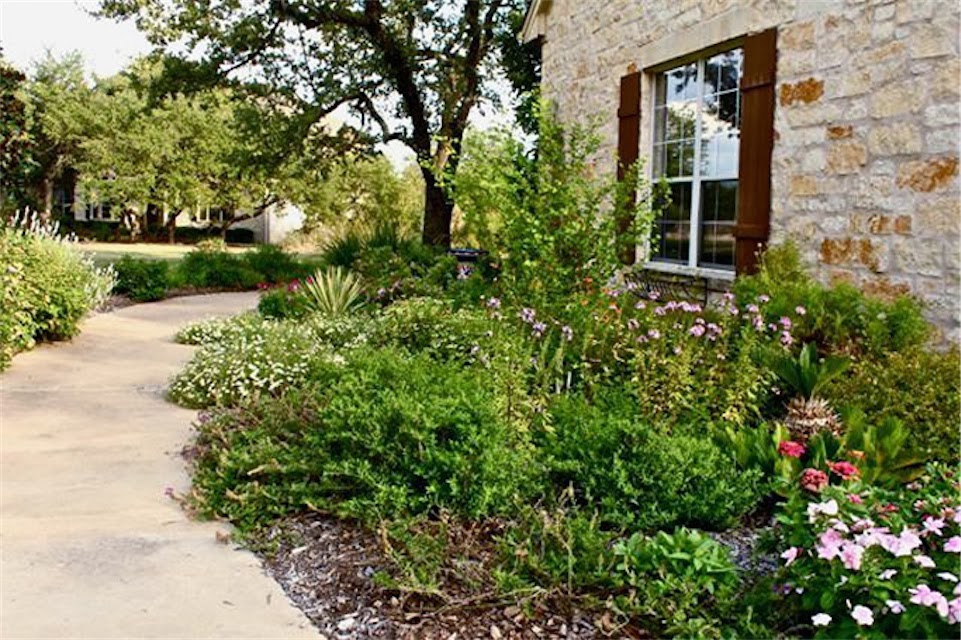
Add a table, more plants and a chandelier and, voila, the perfect spot for morning coffee or afternoon iced tea.  It’s starting to feel like home.  Once again, I’m able to say I have a “happy place” to sit and relax.

Check back for the next saga of “Save the Garden,” where I’ll walk through the before and after of the two main beds directly in front of the house.

Build beautiful hardscape projects in your garden now

Now that winter is keeping us out of the garden, what’s a gardener to do?   That’s easy — plan.  Plan for all the big ideas you’d like to turn into reality once spring planting fever hits.  It’s the perfect time to start planning structural hardscape changes in your landscape. 
Today, our landscapes are becoming extensions of our homes.  They bring us outdoors, in rooms and areas that provide entertaining space, room for kids and pets to play, or maybe a quiet reading nook. 
 
Where to start?   Ask yourself — was your patio too small for entertaining last year?  Did you, or your dogs, wear a dirty path in the grass to get from area to area?   Or do you just want to remove some grass, water a little less or solve a drainage problem with a dry creek?
 
Now what?
Ask yourself some preliminary questions.  First, consider your personal style – are you traditional, natural or contemporary?  Think about the existing area – do you want to use the same material as your house or other structures, or do you want something different? Identify whether you’d prefer creating a color contrast color or seamless hues of a single color.
 
Consider the type of material best suited to your project.  Stone is sold by the ton — decomposed granite by the yard — your local landscape supply yards can help you determine how much you’ll need based on your measurements.  Here are some of the choices that are commonly used for hardscape projects.
Flagstone – Can be used for a variety of landscaping projects, from paths to patios and walls.  It can be mortared into place or simply set in decomposed granite or gravel so it remains permeable.  Wondering what to do with the sidewalk strip in front of your house where the grass is perpetually dying?  Consider some attractive flagstone set in decomposed granite.  If you want a softer look, add a few Mexican feather grasses or a few small agaves or a boulder or two for interest. 
 
River Rock – Available in a variety of size ranges, river rock is smooth and comes in a blend of colors.  It can be used to create a meandering dry stream through your landscape or to solve drainage issues.  You can also simply replace grass with an attractive contrast of natural material in your yard.  It can be used to puddle below a water feature or a birdbath.  Always be sure to vary the size of the rock in a dry creek, scattering in the larger rocks before you put down the smaller size for a more natural look.
 
Pavers – Man-made pavers come in very imaginable color and size.  The most commonly used are made of concrete and can be used for patios and porches, paths and even walls.  They can be laid on a bed of sand, placed close together for a more manicured look, or can be laid with spacing to allow for either grass or pretty little ground covers to grow between.  Pavers create a more manicured, formal style in outdoor rooms.
 
Decomposed or crushed granite – Weathered granite that has broken down into small pieces and particles of silt, DG is commonly used in patios, paths and even beds with arid plants.  It’s versatile as a filler for many different projects – just be careful not to use it on a steep hill – our periodic gully washers can wreak havoc with it.  You’ll want to make sure to use some sort of edging – metal or stone – to keep the granite in place and separated from grass or beds adjacent to it.
Gravel – Available in many different colors and sizes, gravel is a great material.  It can work wonders to help with small drainage issues and it adds texture and contrast to the garden.  Because it is larger, when used in a path, it is less likely to wash away than decomposed granite. 
 
Chopped block – Most stone can be purchased as a rough-hewn brick-like shape that is more natural in form.  These are used to build retaining walls, benches, planting beds or pathway borders. 
River rock, flagstone, chopped block and other stones come in specific palettes of color – Oklahoma, Arizona, Colorado or New Mexico – are some of the choices you can find around Austin.  From golds to browns and reds or grays and pinks, the right hues in your garden can be like a fresh coat of paint in your house. 
If you are creating paths or dry streams, remember to use long, sweeping curves to provide flow and make your garden more natural and inviting.

Adding different types of material to you landscape can make it interesting and inviting – creating contrast and texture that enhance your garden.  
These are all landscape design projects I created.  For more ideas and information, go to Diana’s Designs and see other projects.

[/fusion_builder_column][/fusion_builder_row][/fusion_builder_container]

Winter is perfect for spiffy new hardscaping to satisfy gardening urges

It’s almost planting season here in Central Texas, but to keep me from jumping the gun, I’m starting my winter hardscaping project.  Winter is the perfect time to work on the bones of the garden — getting everything ready for the fun to come.


This was the path/dry creek when it was at its best with native stone that we collected from our property.  But over the years, the rock has been kicked around, gotten buried with soil and mulch and the side rocks  have moved out of place and gotten scraggly looking. So, yesterday my crew came here to start on this year’s main hardscape project.

They moved the existing flagstone and river rock and I outlined the new, curving shape.

Then they dug a deep trench and put in a French drain – perforated pipe with a sock on it to prevent soil from getting inside of it.  A flood of rain water comes across our driveway from our neighbor’s house and we have two downspouts that empty onto the driveway.  We (that would be the royal we) also buried the one downspout at the entrance of the creek.  This will allow the water to rush on down the path and empty into the end of the path in the woods.  This is where it normally puddles, because there isn’t much of a slope down the creek, it also backs up onto the edge of the driveway by about 4 feet by 4 feet, leaving a dirty, wet mess when it rains.

I also brought in moss rock to match the two most recent dry creek projects that we’ve updated the last two years.  You can see those projects here and here. The big, beautiful rocks along the sides are moss rock – they have great markings and lots of character and color and, yes, some mossy stuff.

At the beginning of the path, the crew had to use a chipping hammer to get out some big rocks to create a large rock basin that will help absorb the leftover water when it’s a light rain or it stops flowing.  Now it will be in the creek bed instead of in the dip on our driveway.  (Don’t get me started on the architect/builder that created this problem by not adequately assessing the drainage issue!)

Today we’re putting in some more pipe, placing some medium-sized Oklahoma stone and the final 1-3″ river rock and flagstone stepping stones.  I’m out digging and placing the decorative rocks, because they have to be just so to give it a more natural look.

So much for having the day off!

Landscaping project solves drainage problem…

We’ve lived for 10-1/2 years with a terrible drainage problem on our front sidewalk.  When we get a good rain, a lake forms in front of the front door, making it impossible to come into the house without wearing galoshes or looking for a ferry.  (Well, that might be an exaggeration.)  If you look carefully, the edge of the stained concrete porch stops and you can see a tiny sliver of the sidewalk on this side of the puddle before you step up to the porch.

This is only a moderately-sized lake.  When we get gully washers it’s much bigger.

I try not to think about the builder and the contractor who thought it was ok to build a sloping sidewalk that comes down the hill, and then goes back up with the next piece of concrete, making a V in which water will always puddle.  They did the same thing in front of our garage doors as well, making a 3-car trench over which we also have to leap when it rains.

But I digress.

So, in addition to addressing our sprinkler/rain drainage and erosion problems in the beds that line the sloping sidewalk, we are fixing the entire sidewalk.

My crew dug the sides of the sidewalk out, separated the two pieces at the angeled joint and placed a BIG ‘ol pipe under it.  They then deepened my dry creek trench (the first attempt to fix the problem, but it was inadequate). 

I could not believe how meticulous they were with the cement pieces as I was sure they would crack in the process – the sidewalk is 14 years old after all.  They cut it to fit together so it is perfectly level and far above the trench that will carry away the water.  Before, the two pieces of cement met at an angle roughly down where the pipe has been laid.

It’s hard to see, but it’s all nice and level now!

And they made great progress today on the Oklahoma flag stone cap for the limestone edging.  In this photo the mortar is still wet and they haven’t finished cleaning and brushing the excess off.  But you can see where it’s going.

It was cold and windy and damp and they worked really hard today.  And it all looks great.  I’m proud of my crew and their skills, but I really was in awe today.  Craftsmanship.

Oh, and did you see all that beautiful red clay they dug out around the sidewalk in the first pictures?  I’m happy to say that it is officially basura (Spanish for trash) and is going away, to be replaced by 3-way garden soil and covered with fresh native Texas hardwood mulch when the edging is all done.

It should all be finished this week.  I can’t wait to see it.  And I really can’t wait for the warm sunshine of spring so I can start planting in it.

Landscape bed getting stone edging facelift…

No more pondering — it’s time to get started on the next landscaping project here.  In an effort to address some erosion and drainage problems and spruce up the front walkway – the beds on either side of the walkway will be getting stone edging.

As it is now, the sprinklers cause water runoff — the path here has a slight decline, but as you walk around the corner, it slopes down dramatically and turns the sidewalk into a pond in front of the porch every time it rains.  And that leads to soil and mulch erosion, because the bed level is slightly higher than the walkway.  And the lack of mulch along the edge also creates a weed wonderland for me.

Our house is limestone, so a 4″ limestone border will be laid, topped by a thin cap of Oklahoma flagstone in darker browns and tans.


This is what it will look like.

But no project is ever that simple.  (We knew that, didn’t we?)

First, the sprinkler heads that line the bed will have to be moved  inward by more than 4 inches.  Then they will have to be raised to accommodate the additional yards of soil and mulch that will then have to go into the bed.

Then we’re going to raise up two sections of existing concrete to level the sidewalk and place drainage pipe under it from one side of the dry creek to the other to help with drainage.

I can’t wait for the freezing weather to be over so I can visit all my favorite nurseries and put pretty plants into the garden.  But, this is winter and I can’t do that yet.  So, hard scape it is.

I hope when it’s all finished, the pretty, newly-lined beds will be ready to welcome spring and a bevy of new plants.

I can’t wait…

Go to Top