patio

Simple steps to delicious container veggies at home

We are all craving back-to-basics outdoor time right now.  Early concerns about food lit a fire under many of us to grow our own fruits and veggies at home.  But what if you’ve never grown food before?

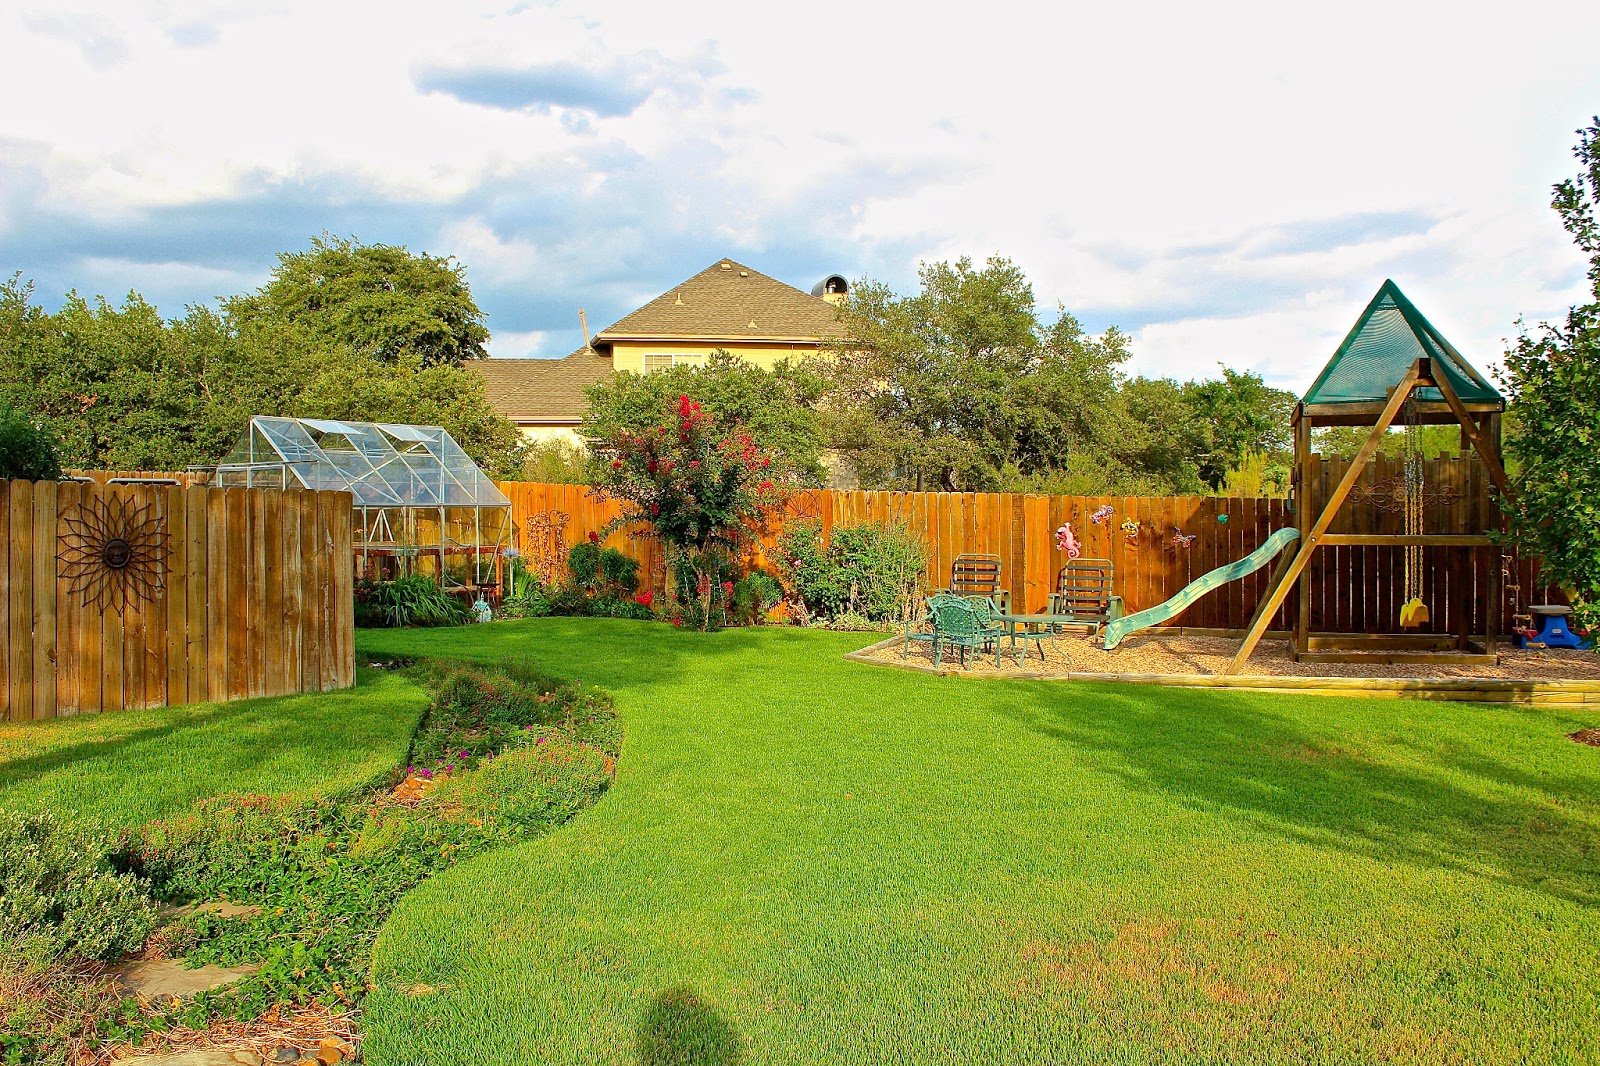
Many would-be vegetable gardeners are thwarted by a lack of experience or space, impenetrable rocky soil or clay, or a shortage of sunshine.  With limited space on a balcony or patio, too much shade or landscape conditions that aren’t conducive to vegetable gardening, what’s a wannabe green thumb to do?

The burgeoning gardening movement and the increasing national interest in growing vegetables at home has fueled the creation of many alternatives to a patch of rich soil in the ground.

Alternative growing containers are the latest trend, making vegetable gardening simpler than ever.  To go along with the increasing desire for small space alternatives, there are also more container-sized vegetable varieties now than ever before.

Most vegetables can be grown in a whole host of containers.  From boring plastic pots to specially designed grow bags, it’s never been easier to get started.  There are many other container options for inexpensive and moveable mini-gardens, too.  Consider large 5-gallon plastic buckets, leftover from house projects.  Other options include wooden barrels, galvanized tubs, even bushel baskets.   Just make sure the container has adequate drainage by poking holes in the bottom.  And, if you’d rather not look at a white plastic pickle bucket housing your tomatoes, you can spray paint your container to match any garden decor.  Make sure the container is safe, and not treated in any way with toxic materials.

Don’t forget about vertical spaces. Hanging baskets can be used for lightweight greens and herbs and some fruits or vegetables will even grow in upside-down hanging planters.  Train your vining vegetables up on poles, supports or trellises as much as possible, using the vertical space in your garden as well as the ground.  Large plants like tomatoes will also need tomato cages in the pots to give them the support they need.

Use the right size planter.  Smaller containers work for herbs, but for veggies, make sure your pot is big enough and has drainage holes in the bottom.  One of the most important things you can do to ensure success is to use a big enough container—the bigger, the better. For one indeterminate tomato plant, for example, you need a container that is at least 1 square foot, but 2 square feet is better. Five-gallon buckets (with holes drilled) are the perfect size for one plant.

Be sure to use a lightweight potting soil.  Choose a mix designed specifically for pots that will help it drain properly. Do not use topsoil or garden soil.

Keep a close eye on the moisture needs of the plant – remember, containers dry out faster than soil in the ground.  
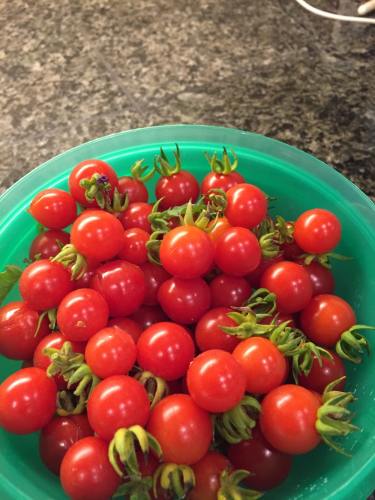
Be sure to water regularly to keep plants happy and healthy.  Keeping your containers near a water source will make regular watering easier.

Check out your sunlight.  Most veggies need between 6-8 hours of sunlight.  If you have lots of shade, containers are great because you can move them around the maximize sun exposure.

Make sure you give your plant the right nutrients—nitrogen, phosphorus, and potassium—all essential for container growing. Some potting soils come with fertilizing nutrients in them. If your bag doesn’t, buy all-purpose slow-release fertilizer or a tomato/veggie-specific fertilizer and follow the directions on the bag.

Happy Gardening.

Creating a new garden and dog-friendly landscape

We moved in June, and left behind the garden I built over 16 years.  I feel like I’ve left behind so many dear friends and labors of love.

I have moved on, as the new garden really needs me desperately.  The new owners of my garden have asked for my help in getting to the know the garden and how to care for it.  And, they’ve been very generous about my collecting some seeds and a few volunteers as well.  I look forward to teaching them to care for all my plant children.

So, the new house.  The new old house.  Ivy, actually, three kinds of ivy – English, Jasmine and Virginia creeper, have eaten the entire large, corner lot, and are now trying to eat the house and all of the beautiful live and red oak trees.  Ugh.  And because I need to keep a little of it, eradication is going to be labor-intensive to say the least.

In the back, there was a tiny square of what I believe may have once been grass.  But, it was sad – invaded by ivy, a half dozen volunteer trash trees and a small circle of weeds, it was a poor excuse for a yard for the boys.  So, the first step was to clear the trash trees, dig out the ivy and the primrose jasmine, and open the chain link fence to install a gate to the next grass-creating project.

Dog inspection was critical to the leveling and retaining wall work and they were eager to check out their new space.

Once done, it was a fine yard for exploring and enjoying, and a lovely loquat tree was rescued from the encroachment, providing just a little shade.

Then, onto the next part of the project.  Along the back of the deck, another incredibly steep slope of ivy and trash trees.  (Surprise, right?)

More leveling, more retaining walls, more soil and more Zoysia grass.  Opening up the trees and adding irrigation made a great, long yard for the boys to run behind the deck all the way down to the side street to watch passersby.


A gate at the bottom gives us some more flexibility and access.

The retaining walls will hopefully keep water from rushing down the hill during the periodic gully washers.

One last dog-friendly project awaited.  On a steep hill, the house has catwalks from the driveway and carport to the house.  In the space below, the owners had let poor grading and dirt erode the side of the house, so we regraded, took out more volunteer trees, installed a French drain and filled the space with river rock.  I had two more gates created so the dogs could run from the back yard and deck to the front next to a courtyard where they watch everyone go by the front yard.

Then it was time to create the first garden bed!  Whoo hoo.  I was so ready for it by this time.  It was the peak of summer and I didn’t have a single flower in the ground on the entire property.  I can’t tell you how depressing that was.

A spindly Crape Myrtle reached so far into the other oaks above the only bare trunks were visible, so we removed that and added an attractive curve to the river rock, building a bed behind it.  A spindly Crape Myrtle reached so far into the other oaks above the only bare trunks were visible.

In sad shape, the enormous concrete wall needed attention.  Step number 1 – get the bed prepped and find the right plants.


Then came concrete painting.  After a good bit of pondering what color would work with the dark sage green of the house, the gray fences and the red doors, I settled on a medium shade of blue.


I decided that the iron art I designed was worthy of so much more than an air conditioning screen, so I placed three of the panels as a focal point in front of the blue.  Wow, does that pop.

We’re not sure if the large plastic owls mounted all over the property were to keep the local hawk family away from their tiny dog, or to keep birds from pooping on the deck or what.  But, for all the trees, there are precious few birds.  I put a birdbath on the edge of the courtyard and since we are rarely out there, I’m hoping some nearby feeders and houses serve to invite some feathered friends.

Add a table, more plants and a chandelier and, voila, the perfect spot for morning coffee or afternoon iced tea.  It’s starting to feel like home.  Once again, I’m able to say I have a “happy place” to sit and relax.

Check back for the next saga of “Save the Garden,” where I’ll walk through the before and after of the two main beds directly in front of the house.

Flashy natives garden can handle the heat on Inside Austin Gardens tour

Here is another one of the wonderful gardens that will be on the popular  Master Gardeners Inside Austin Gardens Tour 2015 on Saturday, October 17.  The tour provides a rare look inside six private gardens and a public experimental garden. 

The gardens demonstrate 7 unique styles.  This is my preview of the Flashy Natives Garden.  Enjoy this sneak peek and then see it in person on the tour next weekend.

401 Cloudview Dr Austin, TX 78745

This garden is very much a collector’s garden, with many different varieties of plants to create wonderful combinations of texture and color and form.


 This garden is a very Southwestern cottage style, incorporating yuccas and grasses one might not see in a cooler climate traditional cottage garden.


 Patio pots offer more focal points around the seating areas.

And no cottage garden would be complete without a little picket fence.

 Tickets for all 7 gardens are $19 in advance or $20 at any garden location on the day of the tour. Single garden tickets for $5 can also be purchased at each garden.  Purchase advance tickets here.

Reducing your lawn with beautiful alternatives

Last year, almost all of my landscape clients were searching for ways to reduce their lawn, water use and carbon footprint.  The cost of water here has risen dramatically and our water restrictions make it difficult to keep certain kinds of turf looking decent anyway.

So what to do?  Paving it over isn’t a pretty alternative, but there are many other beautiful choices to incorporate other elements into your landscape.

Creating an attractive and inviting landscape usually includes an interesting mix of plants and paths, patios and other areas designed for outdoor entertaining and enjoyment.  Of course, you can build a few big beds and fill them with drought-tolerant native and adapted plants.

You can replace lawn with sitting and entertaining space — using paths of mulch, decomposed granite or flagstone, patios of native stone or bricks, wooden decks and gazebos, creating an inviting garden space when combined with planting beds. Dry creeks can be added to meander through your landscape to address drainage issues or simply for aesthetic use as a textural contrast to plants and mulch.

 You can create a patio area in the front yard so you can watch kids play or visit with your neighbors.

Water features from ponds to disappearing fountains in ceramic pots can add a focal point and invite wildlife into your garden. Play scapes, hammocks, washer pits and fire pits or chimenarias also can be placed on a variety of hard scape materials in lieu of grass.


You can even put in that greenhouse you’ve always dreamed about.  What a great way to rationalize that purchase!

I found some of the best inspiration I’ve seen, along with great step-by-step DIY information, in my friend and fellow blogger, Pam Penick’s new book, Lawn Gone!, Low Maintenance, Sustainable Attractive Alternatives for your Yard.

You can read more about Pam’s book and available lawn alternatives in my Austin American Statesman story.  Or, check out her Lawn Alternatives  Facebook page.

For some great ideas and practical suggestions, look for a copy of Pam’s book at Austin bookstores and nurseries or at Amazon.

So, if you want to reduce your lawn, take heart.  There are endless attractive and practical solutions that will enhance your landscape.

Sweet things to come …

Wow. My Wisteria is gearing up for a big bloom up on the back fence. This is the most advanced of the blooms, coming onto the fuzzy buds that cover the branches today.

She’s intermingling with the Crossvine on the other side of the back fence. This is the first open bloom on that side, and there are thousands of little buds just waiting … waiting for RAIN.

Which we did NOT get today.
In spite of being promised rain. (well, technically not promised, but I foolishly hung my hat on the 30% chance in the forecast. I guess I only hear what I want to hear!)
This Euryops Daisy is very happy with our spring-like weather, and has burst into bloom.
And here are all the big plants in their new, albeit temporary, corner of the patio. I still have about 1/2 of the smaller plants inside the greenhouse and am bringing those out a few at a time.
And now the forecast for next week includes a 37-degree night.
Aargghhh!
But I also know if I had left everyone in the greenhouse the forecast would have been for 91 degrees like it was last week.
[I know, I’m NOT in charge!]
Go to Top