Monthly Archives: January 2014

Landscape bed getting stone edging facelift…

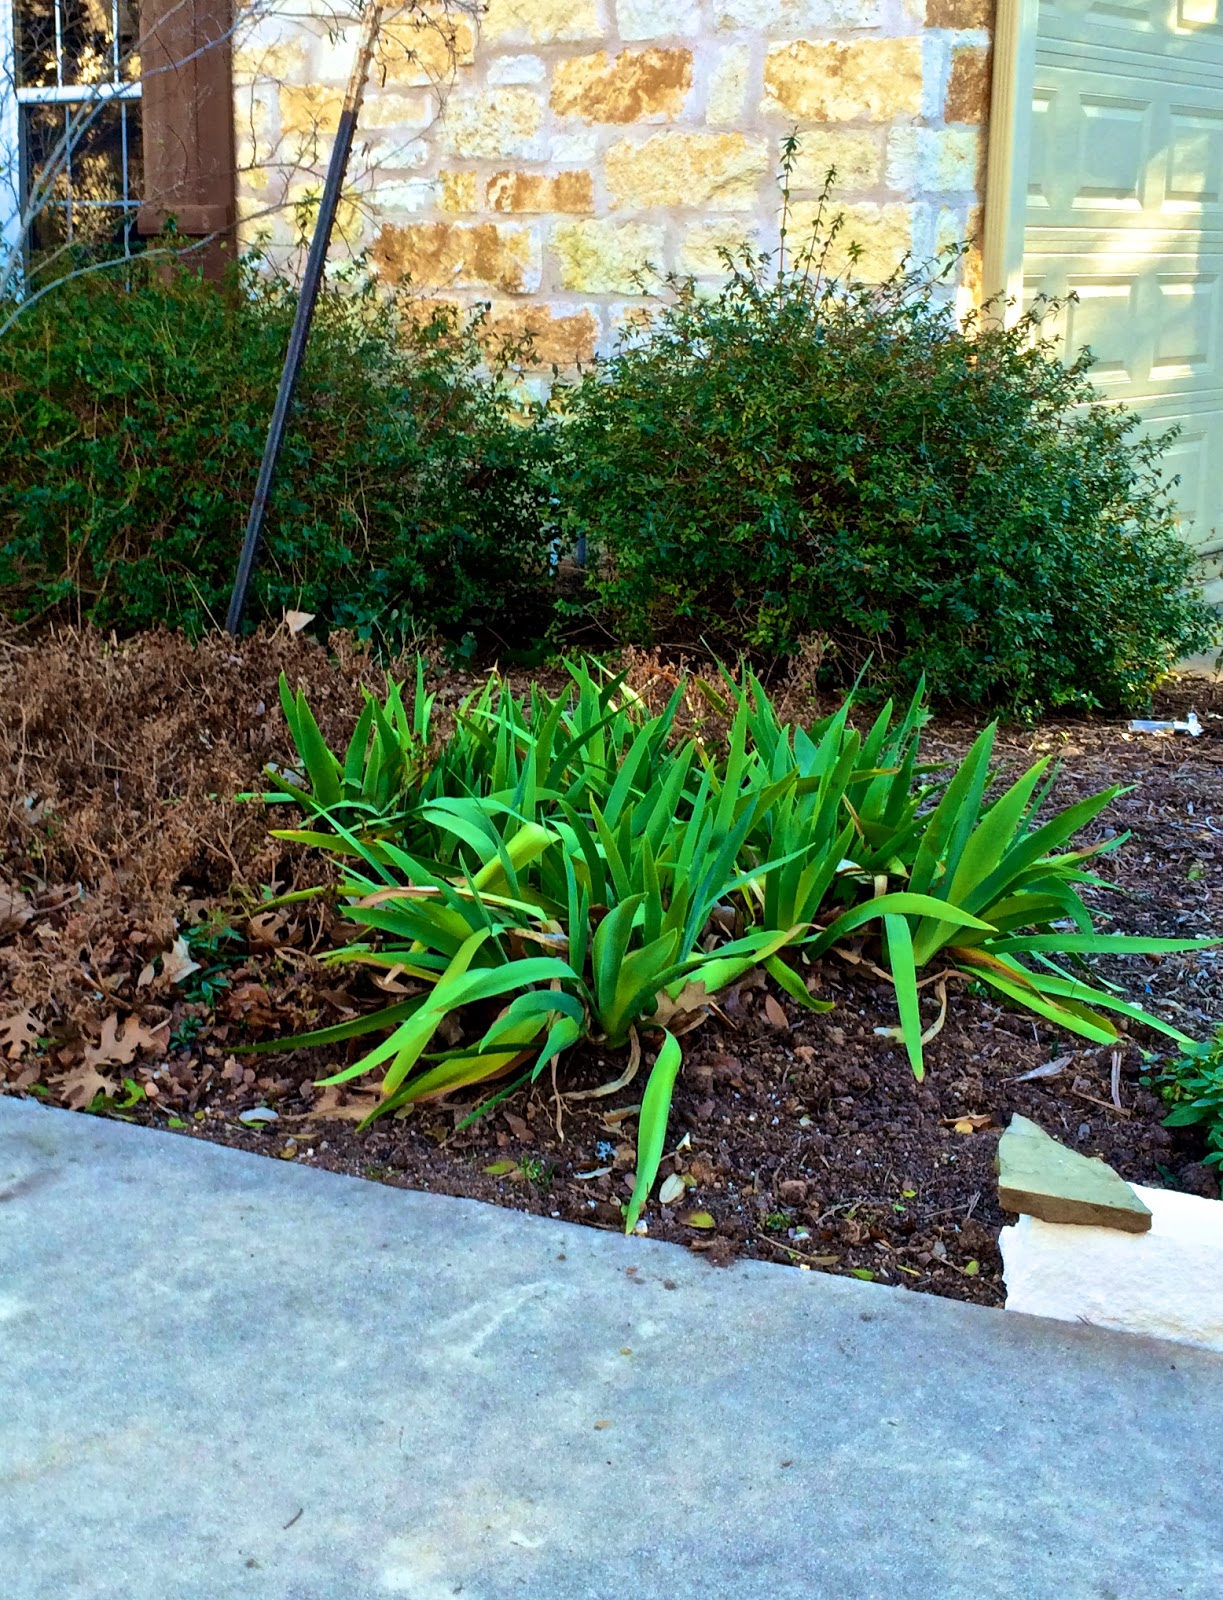
No more pondering — it’s time to get started on the next landscaping project here.  In an effort to address some erosion and drainage problems and spruce up the front walkway – the beds on either side of the walkway will be getting stone edging.

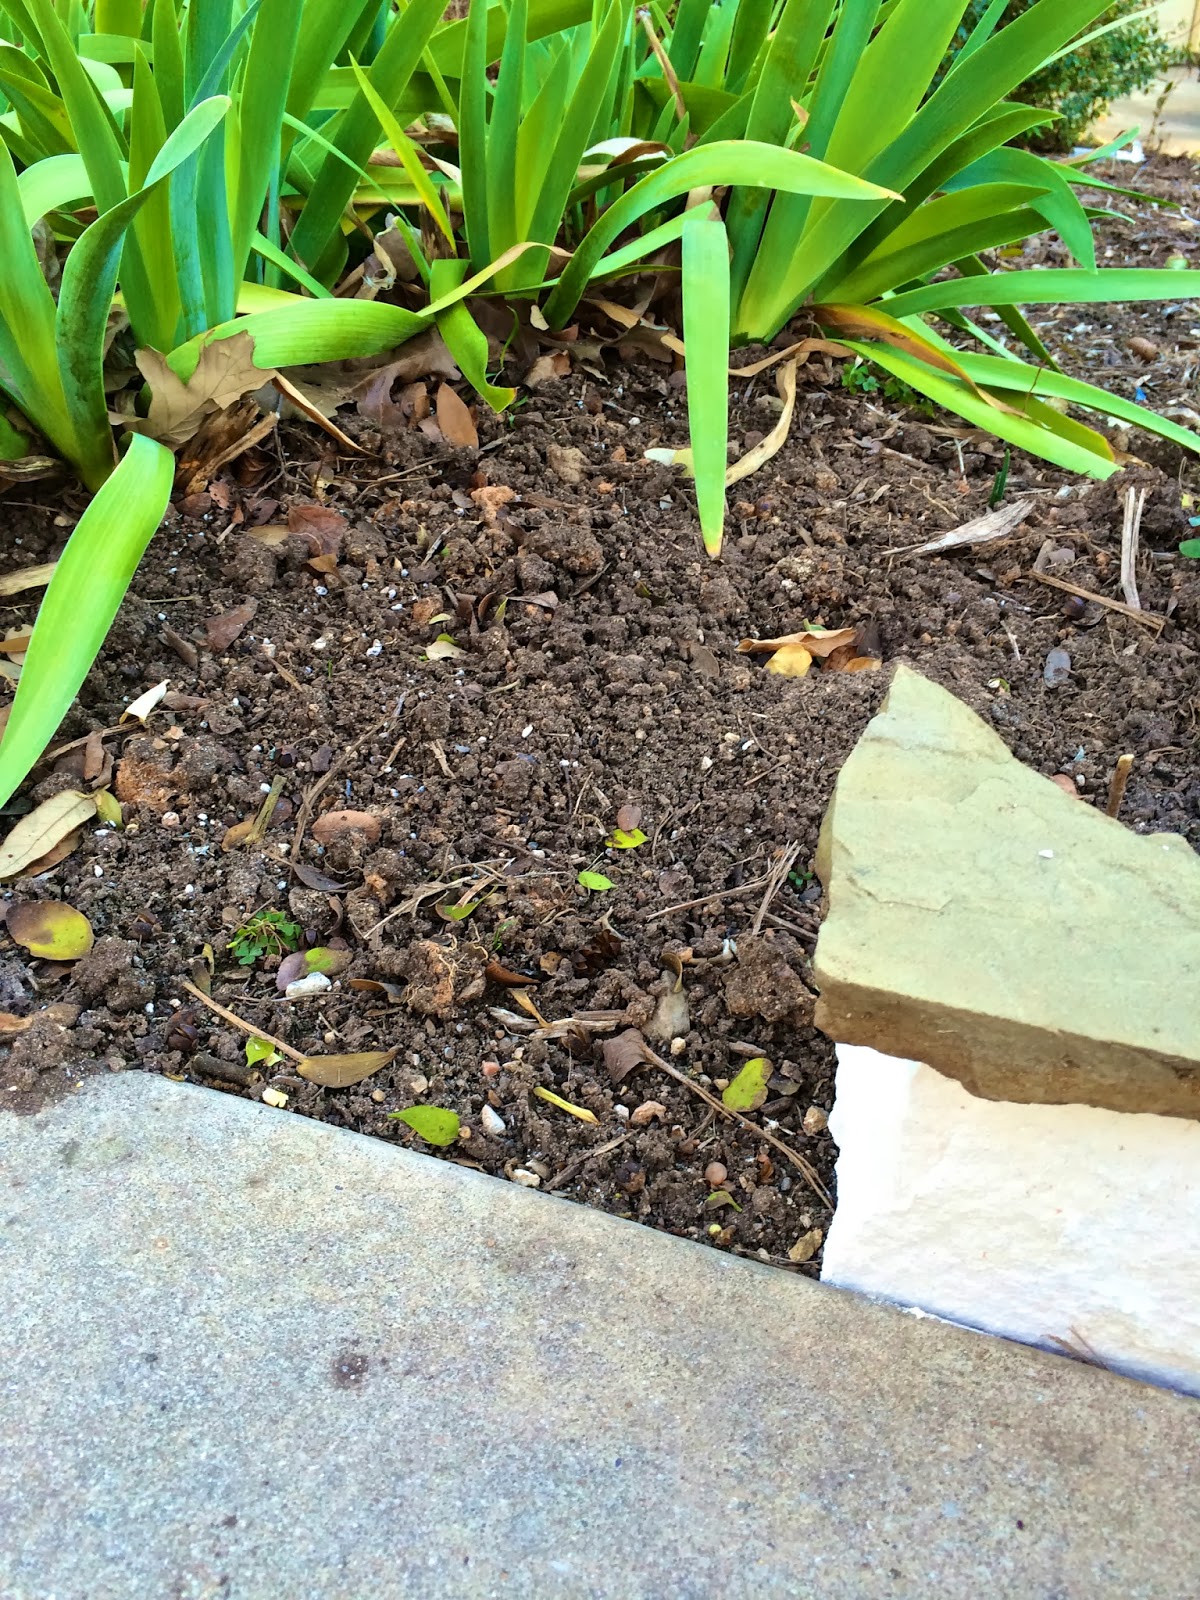
As it is now, the sprinklers cause water runoff — the path here has a slight decline, but as you walk around the corner, it slopes down dramatically and turns the sidewalk into a pond in front of the porch every time it rains.  And that leads to soil and mulch erosion, because the bed level is slightly higher than the walkway.  And the lack of mulch along the edge also creates a weed wonderland for me.

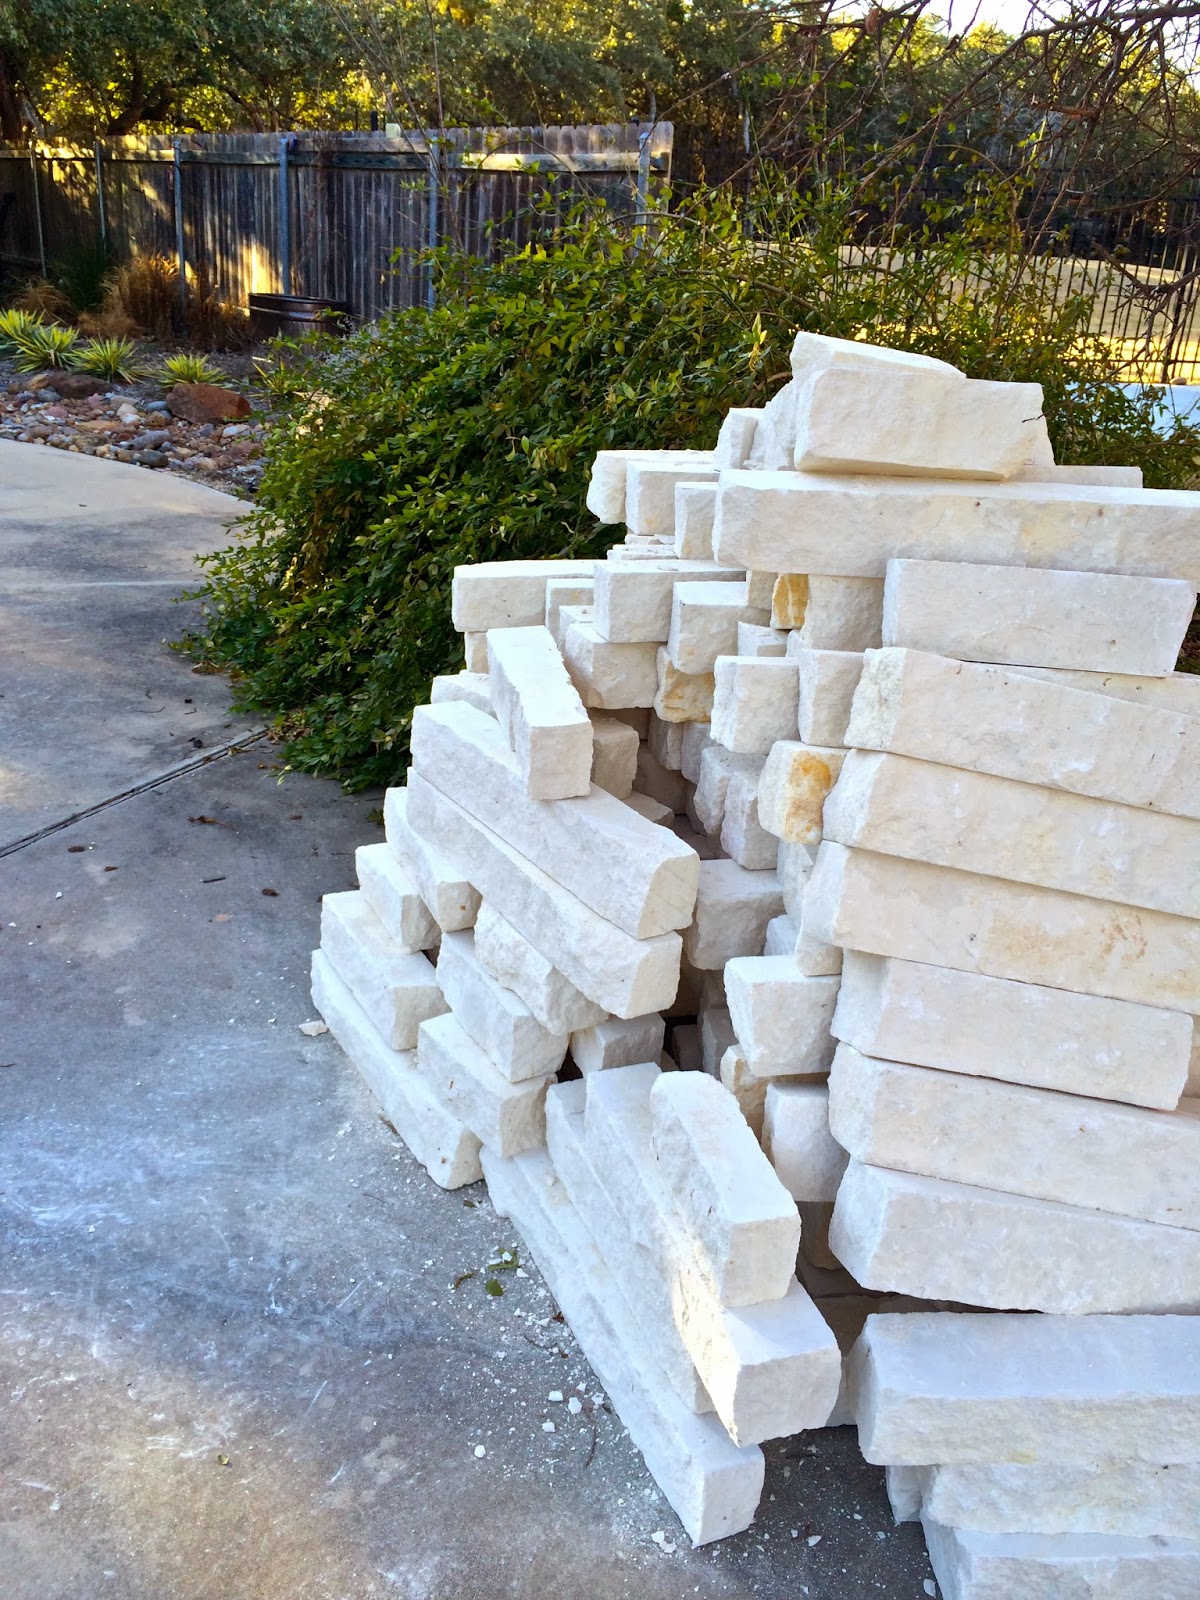
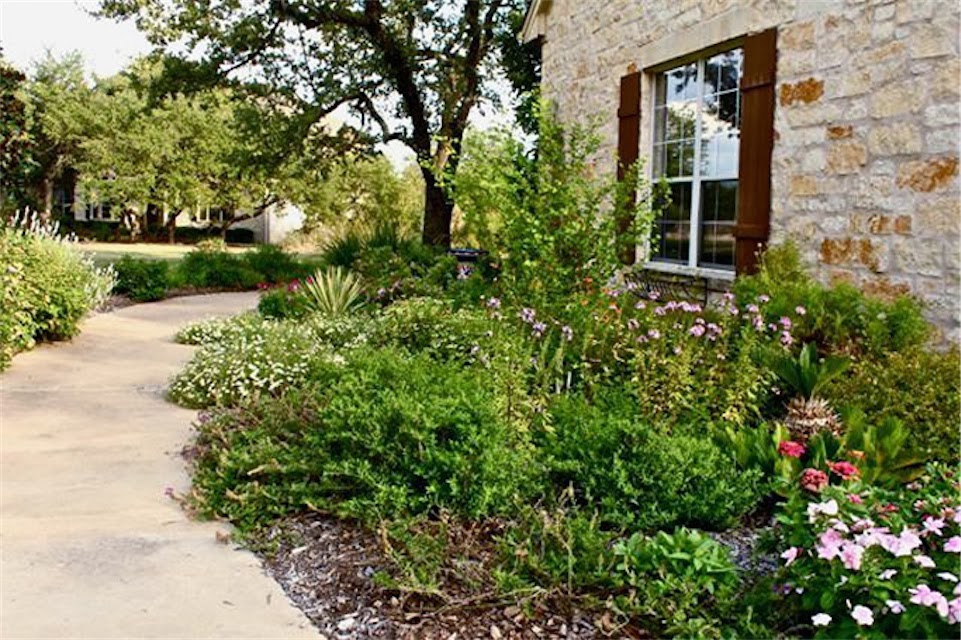
Our house is limestone, so a 4″ limestone border will be laid, topped by a thin cap of Oklahoma flagstone in darker browns and tans.


This is what it will look like.

But no project is ever that simple.  (We knew that, didn’t we?)

First, the sprinkler heads that line the bed will have to be moved  inward by more than 4 inches.  Then they will have to be raised to accommodate the additional yards of soil and mulch that will then have to go into the bed.

Then we’re going to raise up two sections of existing concrete to level the sidewalk and place drainage pipe under it from one side of the dry creek to the other to help with drainage.

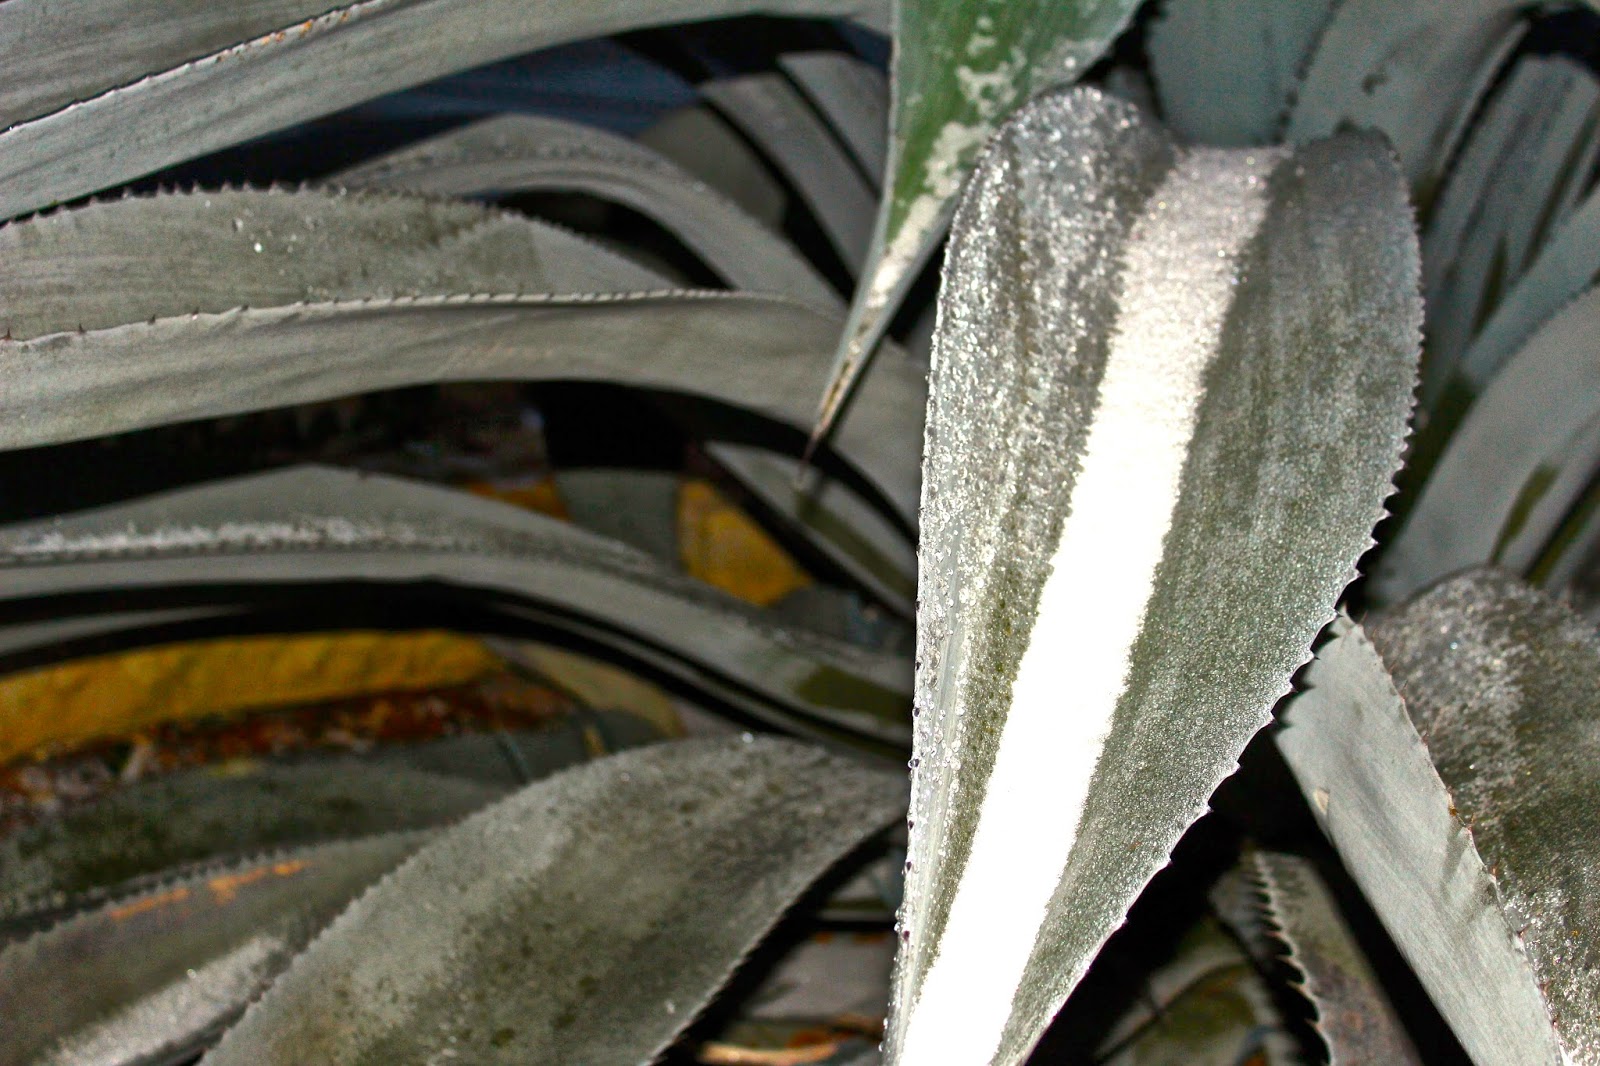
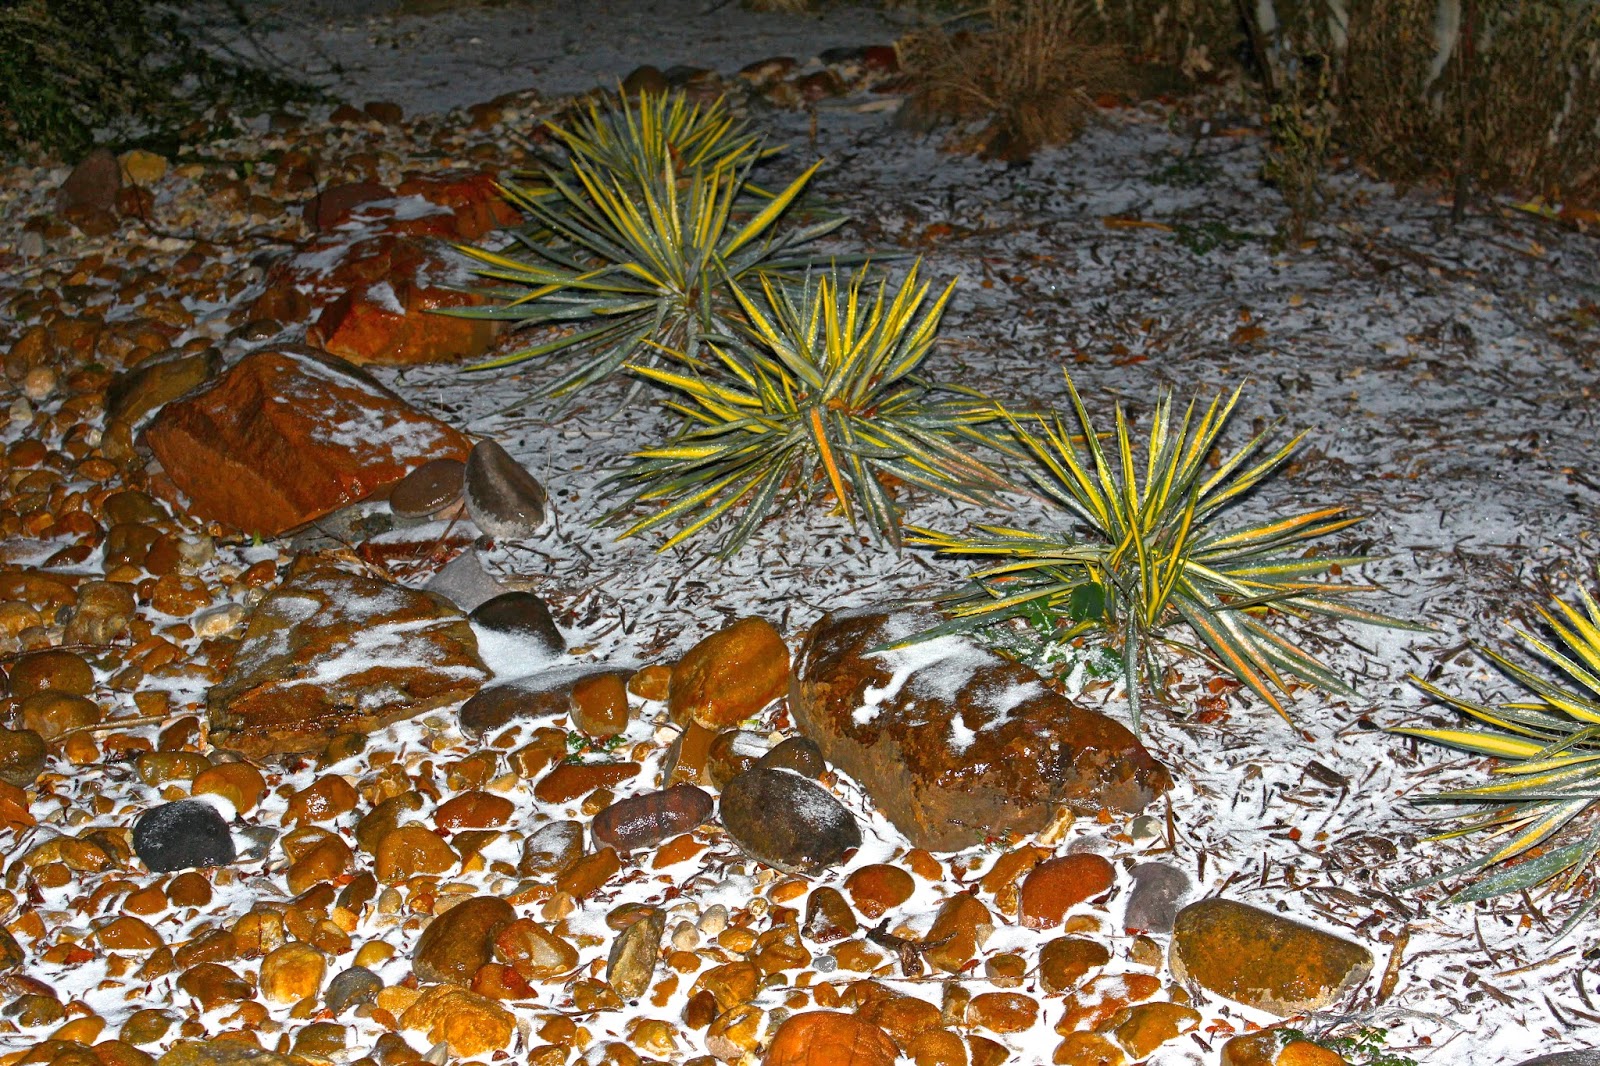
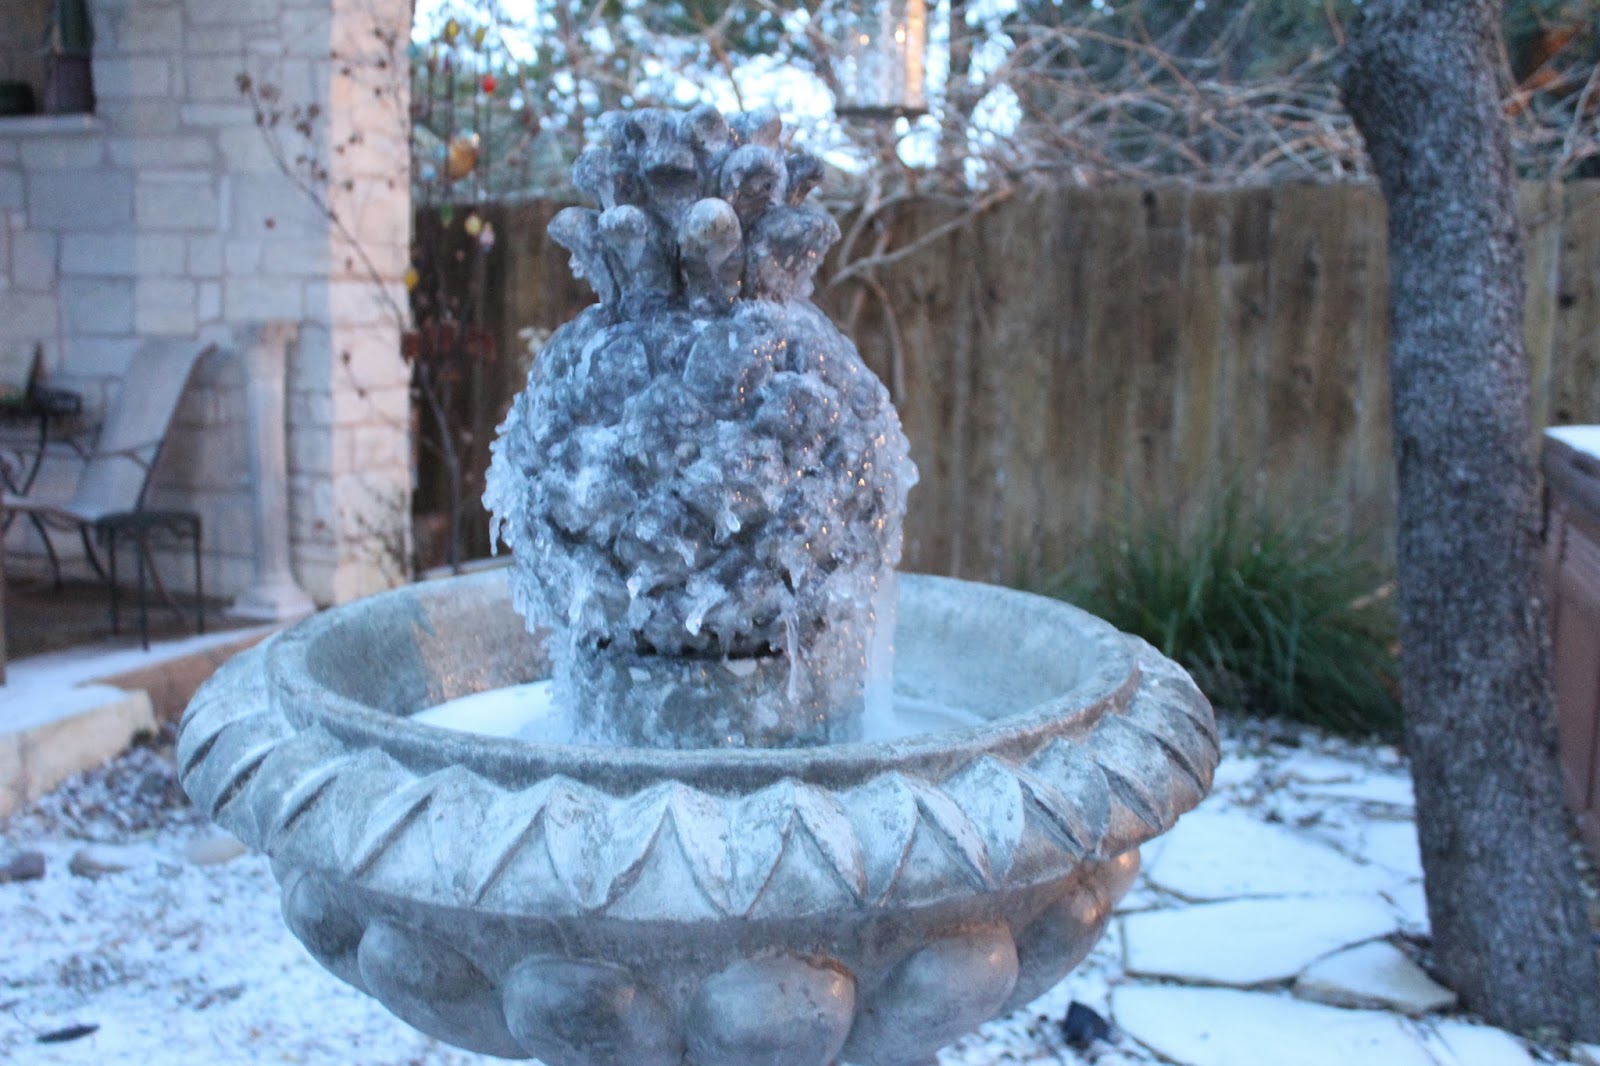
I can’t wait for the freezing weather to be over so I can visit all my favorite nurseries and put pretty plants into the garden.  But, this is winter and I can’t do that yet.  So, hard scape it is.

I hope when it’s all finished, the pretty, newly-lined beds will be ready to welcome spring and a bevy of new plants.

I can’t wait…

January Tip: It’s seed-sowing time in Central Texas

OLYMPUS DIGITAL CAMERAIndoors, that is.  If you’re eager to try some new varieties of vegetables in your spring garden, now is the time to check out seed catalogs and the seed displays at your local independent nurseries.

Seeds won’t germinate in the garden yet. The ground is too cold. But if you have a greenhouse or a cozy indoor spot to keep them warm, you can start growing now.

When the chance of frost has passed and the ground begins to warm up you’re ready to put your seedlings into the garden. Not so fast, though. Seedlings need to be hardened off before they can be plopped in the garden. That’s a fancy way of saying they need to get used to being outside in the elements since they’ve been babied in the house over the winter months.

Just take them outside into a shady spot for half a day for a few days, then for a full day or two and then slowly move them into the sun in the same way.

Remember, spring winds can be hard on delicate plants, so be prepared to give them some wind break if you need to. And my sweet transplants seem to emit a signal to insects that the buffet is open. You can protect the plants from some of them by cutting a solo cup in half to make a cylinder, and placing it around the base of your seedling until it gets a little bigger and stronger, just make sure it doesn’t block the sun or the water.

Once you have all your seedlings planted, mulch, water and eat.

Read the full article here.

By |2017-11-29T23:27:11-06:00January 29th, 2014|Tips|Comments Off on January Tip: It’s seed-sowing time in Central Texas

Sow seeds now for spring vegetables

txaas_mastheadIMG_2357
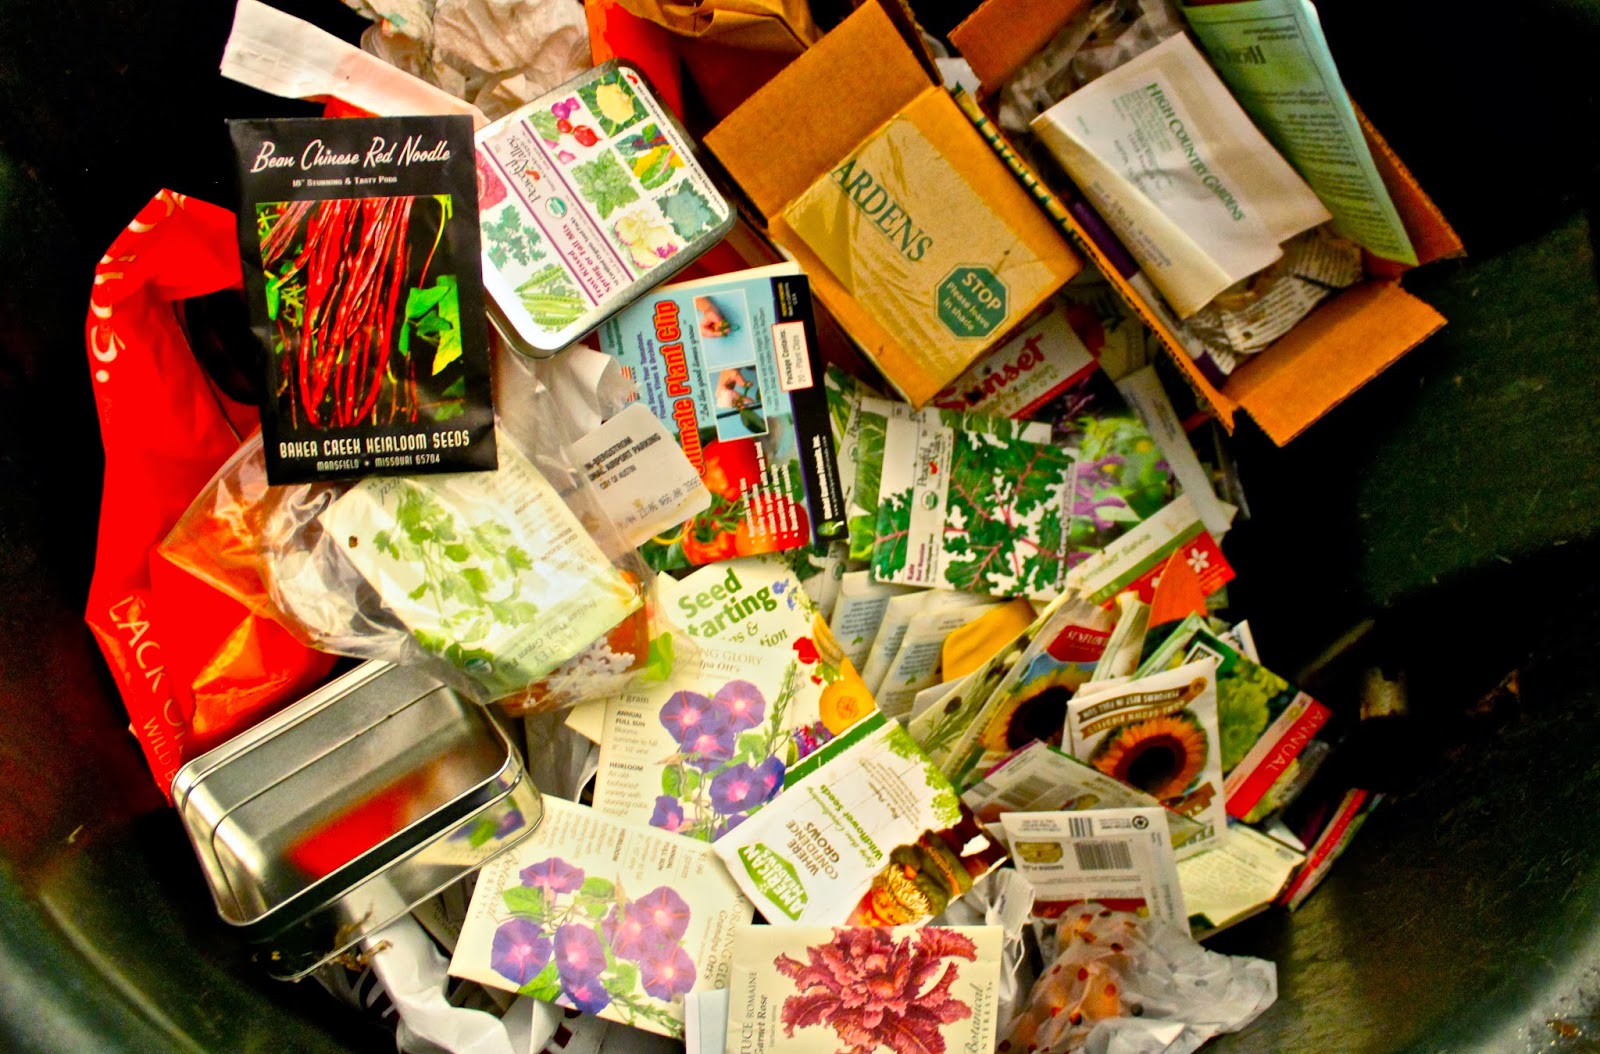
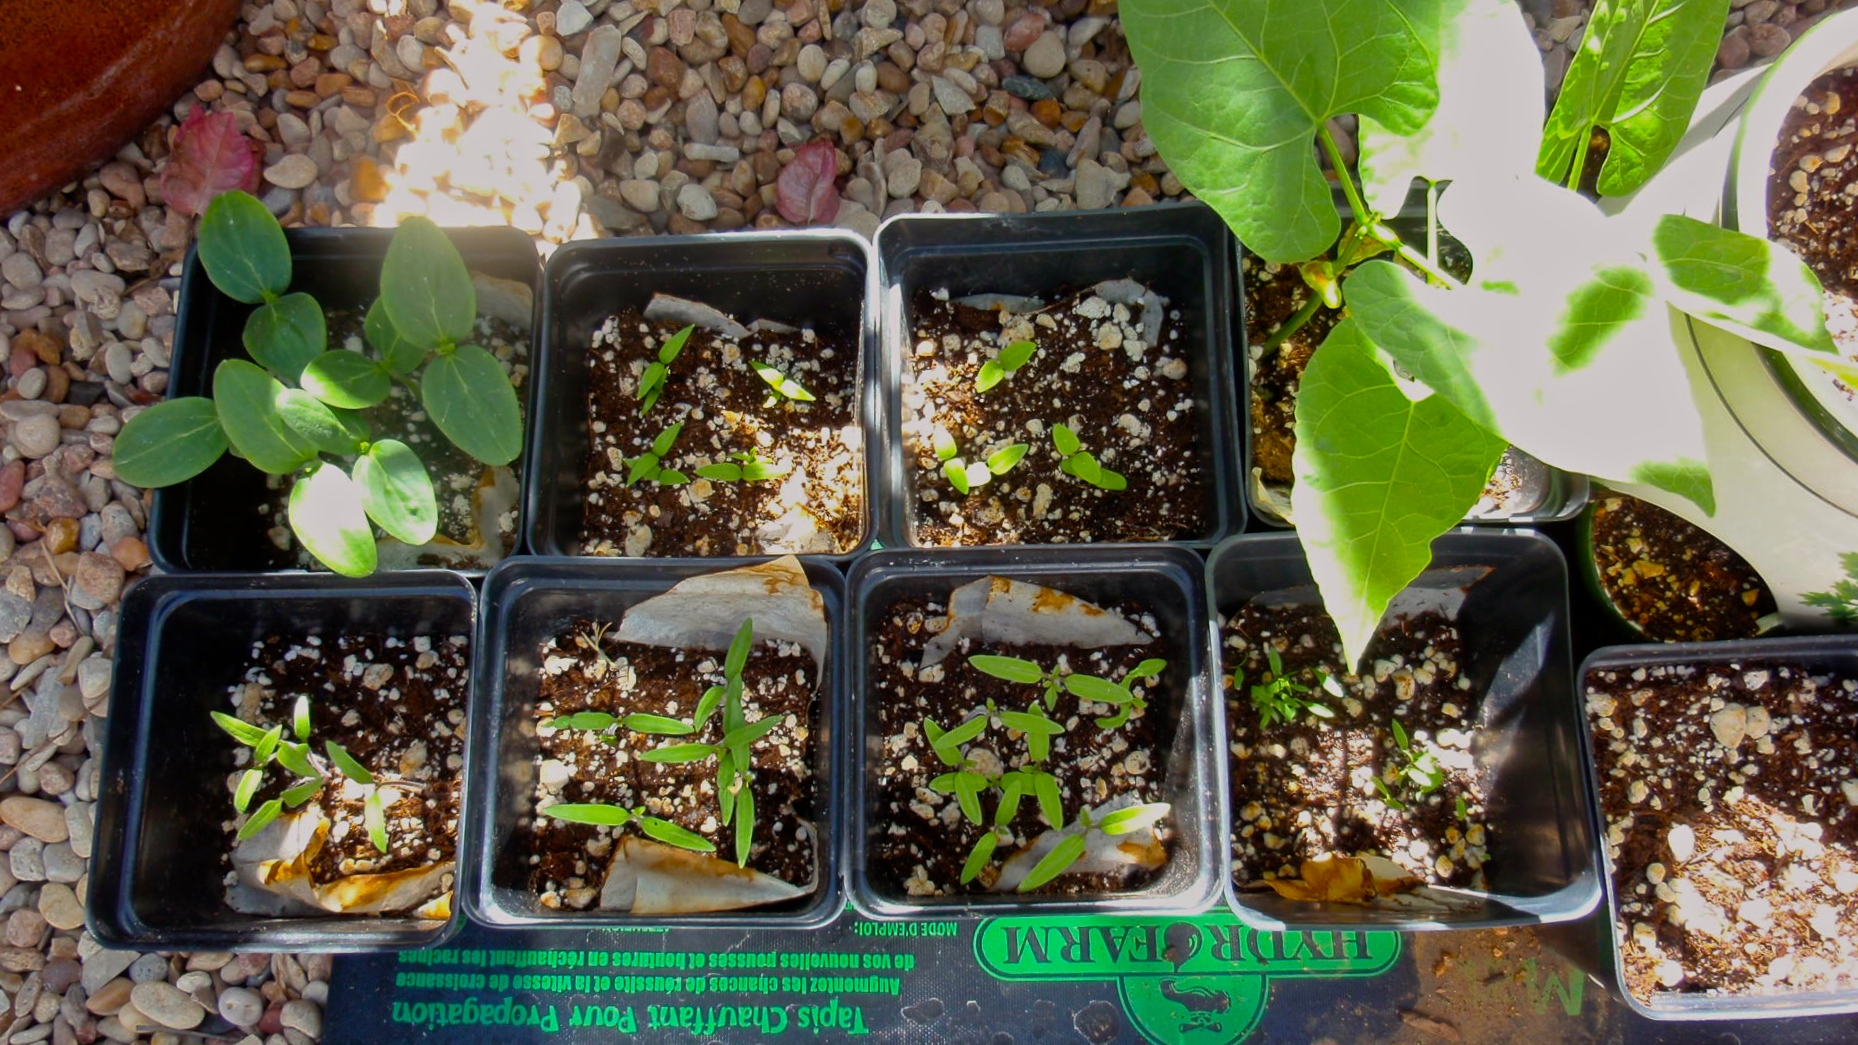
It’s seed-sowing time in Central Texas.  Indoors, that is.  If you’re eager to try some new varieties of vegetables in your spring garden, now is the time to check out seed catalogs and the seed displays at your local independent nurseries.

Seeds won’t germinate in the garden yet. The ground is too cold. But if you have a greenhouse or a cozy indoor spot to keep them warm, you can start growing now.

Generally, the time to plant seeds inside is about 8 weeks before the average last frost date – for us, that’s about early March in Austin.  Areas around the Hill Country usually have to wait just a little bit longer for the ground to warm up. With the unusual winter we’ve had thus far, it’s hard to predict what the next two months will hold for gardeners.

Planting early and indoors will give your vegetables a nice head start so you will have well-established plants to put into the garden when spring arrives.  You can certainly put in transplants once the weather warms up, but planting from seed allows you to choose from hundreds of different varieties of vegetables since nurseries can only bring in so many plants to sell.

You can plant in many different containers – you can buy nice plastic flats with multiple planting holes or biodegradable pots that can be placed directly into your garden when it’s time to transplant. Or you can repurpose washed out yogurt containers as long as you punch a drainage hole into them.

Many people are surprised to learn that you shouldn’t use potting soil for planting seeds. Instead, buy small bags of specially-prepared sterile seed starter mix – it doesn’t compact as much as potting soil and gives your tender seeds more room to germinate and grow.

I’ve had the best success with seeds when I used a heat mat.  Even in the warm house, the seed mix must remain at just the right temperature, and a heat mat ensures that continuous warmth for germinating seeds. You can find them at many  nurseries or online. You can also place your seeds on top of the refrigerator, but I forget about them up there and then…no seedlings. If you place them near a sunny window, remember to move them away from the windows at night because the cooler air by the window will lower the temperature too much for them to germinate. They have to stay warm, day and night.

Be sure that you keep the soil moist. You can water with a spray bottle so you don’t disturb the seeds. As soon as the seedlings emerge, give them lots of light. You can put them by a window or place them under grow lights. Turn them regularly when they begin to lean toward the sun. If they seem long and stringy, they need more light. The first leaf shouldn’t be more than an inch from the soil.

Now you can start watering your plants gently and letting them dry up a little in between waterings. You can move them to larger pots if you need to.  It’s also time to give them a little liquid fertilizer like liquid seaweed or fish emulsion.

When the chance of frost has passed and the ground begins to warm up you’re ready to put your seedlings into the garden. Not so fast, though. Seedlings need to be hardened off before they can be plopped in the garden. That’s a fancy way of saying they need to get used to being outside in the elements since they’ve been babied in the house over the winter months.

Just take them outside into a shady spot for half a day for a few days, then for a full day or two and then slowly move them into the sun in the same way.

Remember, spring winds can be hard on delicate plants, so be prepared to give them some wind break if you need to. And my sweet transplants seem to emit a signal to insects that the buffet is open. You can protect the plants from some of them by cutting a solo cup in half to make a cylinder, and placing it around the base of your seedling until it gets a little bigger and stronger, just make sure it doesn’t block the sun or the water.

Once you have all your seedlings planted, mulch, water and eat.

By |2017-11-29T23:27:11-06:00January 29th, 2014|Articles|Comments Off on Sow seeds now for spring vegetables

It’s a snow day!

Sleeting rain and freezing temps left us with a layer of ice with the thinnest film of snow on the landscape this morning.  It was 26 when I got up this morning.

Snow day!

Even though I’ve lived in plenty of cold, snowy places around the world, even the lightest dusting makes me smile.  So I had to capture a few images before it all melts away around noon.

The agave above is NOT variegated – that is a strip of snow lying in the center!

Happy snow day.  What’s the weather like where you’re at?

By |2017-11-29T23:27:12-06:00January 24th, 2014|Blog, freeze, Sharing Nature's Garden, snow, snow day|0 Comments

Making room for spring…

It’s that time of year — the afternoon high temperature was up to 80 here yesterday.  Thursday it’s supposed to be a high of 39.  But at least we aren’t expecting a foot of snow like our friends up north.

But those warm, sunny afternoons make me restless.  Especially when the extreme cedar pollen levels make it impossible to be outside.  So, on my weekend list?  Clean out some of the garden paraphernalia in the garage — including the old seed packets.  I know that some were at least two years old, maybe older. 

Why not, you might think, keep them and try them out?  Maybe they’re still good and will germinate.  And then again, maybe not.  I’m just not willing to take that chance and have to start again or plant twice as many seeds to ensure some seedlings actually come up. 

There they are – down in the garbage can – a plethora of vegetable and flower seeds.  But don’t worry — they are going to be replaced, and soon.  Saturday night I spent a nice, cozy evening trolling through veggie seeds and placed my order to get started in the greenhouse.

And that’s what spring is all about, isn’t it?  A fresh start in the garden?

What will you be starting fresh with in your garden?

By |2017-11-29T23:27:12-06:00January 21st, 2014|Blog, seeds, Sharing Nature's Garden, spring|0 Comments

Tillandsias – Get creative with color and texture

I spent some time out in the dreaded cedar pollen yesterday cleaning out and redesigning another tillandsia globe.

All the previous black sand, rocks and lichen came out and I washed the globe.  Then I went to my tumbled glass pile and collected some beautiful green, clear, blue and gold pieces of glass to form the floor for my arrangement.

Then I wandered around the garden looking for some more interesting elements to add into the mix.  I saw some lichen up high in the cedar elm tree.  With the help of some high jumps and the broom, I was able to knock a few little bits of branch off onto the ground.  Then I stole a piece from the fairy garden and took it all to the greenhouse to clean and assemble.

One piece of advice if you get yourself a big load of tumbled glass — don’t pile it up in the woods where it can get little bits of leaves and twigs in it — it’s a bear to get out of that glass.  After a long spell with the colander and the hose, I finally called it good enough and made sure what was left was buried.

Another tip – have your tweezers and a paint brush on hand for manipulating things.  Once I put the beautiful red tillandsia into the globe, it was difficult to position the lichens exactly as I had envisioned them. 

I convinced myself that it looked natural this way!

Now to find the fishing line!  I’m going to screw a hook to the back side of my desk hutch and hang it in my office. 

Now I’m on the lookout for a container to make one for my daughter.  And this, on a smaller scale, would make a great teacher/school office staff end-of-year gift, too, wouldn’t it?  Or a hostess gift.  Or…

Go to Top